
I make signs, I mean a LOT of signs. I had the original Cricut® Personal cutter since 2006 and use it to create great things, but when I started to create larger works like signs for our lake home, it was too limiting.
I wanted the freedom to create large pieces, using my own fonts in combination with my existing Cricut® cartridge library and other images I had and could create. Well Cricut® couldn’t have timed it any better with the early 2014 launch of the Cricut® Explore®.
I will cover how to make the signs in other blog posts, but you need some special tools to complete this project, so that is what I am covering here. Also, these are the tools you need to create signs that all all painted, not vinyl applied to a painted surface. This is what I prefer to make, as my customers want this look as well.
Which Cricut® is for you?
Cricut® offers two models, so if you are interested in researching and seeing which one is for you, go here to compare the models and decide.
They often have great deals, so once you find the one you like; you can purchase it right on their website.
To make signs, having an electronic die cutting machine like my Explore Air® isn’t a must have, but it makes things easier. You may have a die cutting machine from a different manufacturer, and that is great, I just happen to have a Cricut® brand cutter, but the rest of the tools and techniques apply to most any electronic die cutting machine.
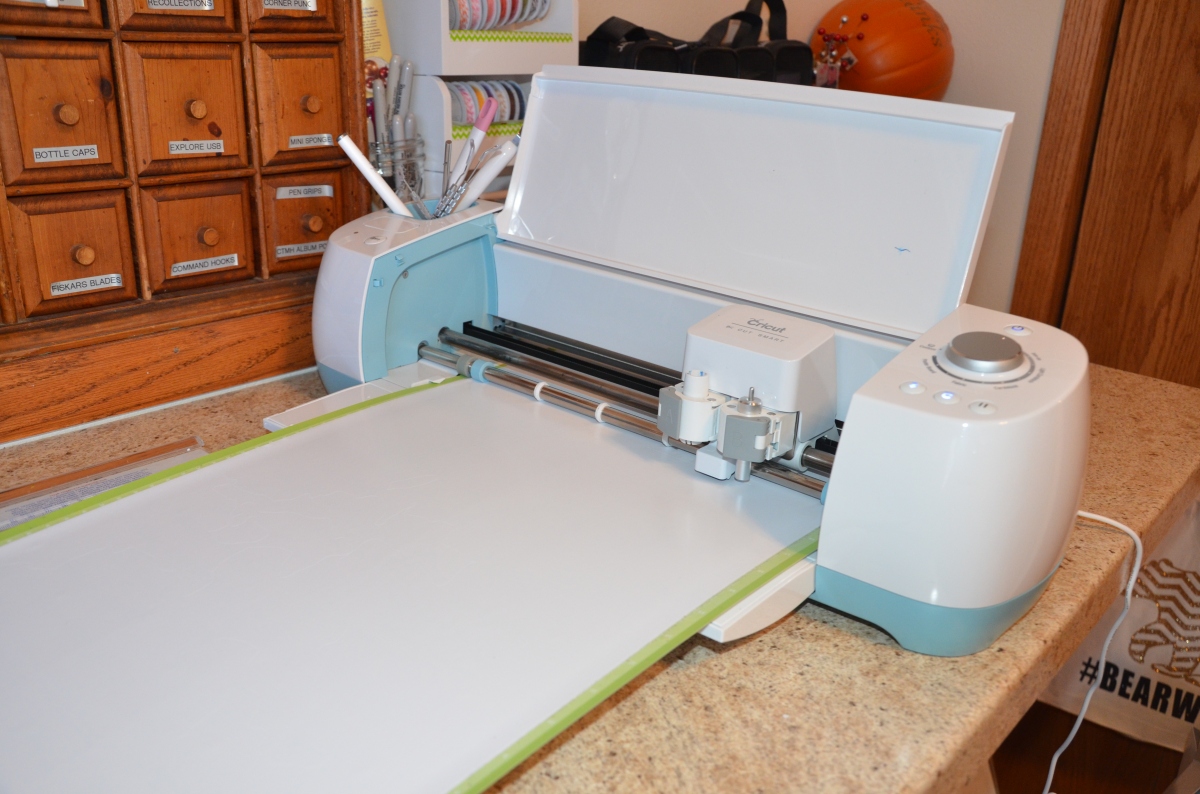
Here’s a picture of my machine in action!
Tools of the Trade
So here is a list of my must haves. I try to be thrifty with my supplies, because I mass produce – so I can turn out a great looking end product and still can make a little profit. I will provide a link to these and if possible, a store where you can find the item in your area.
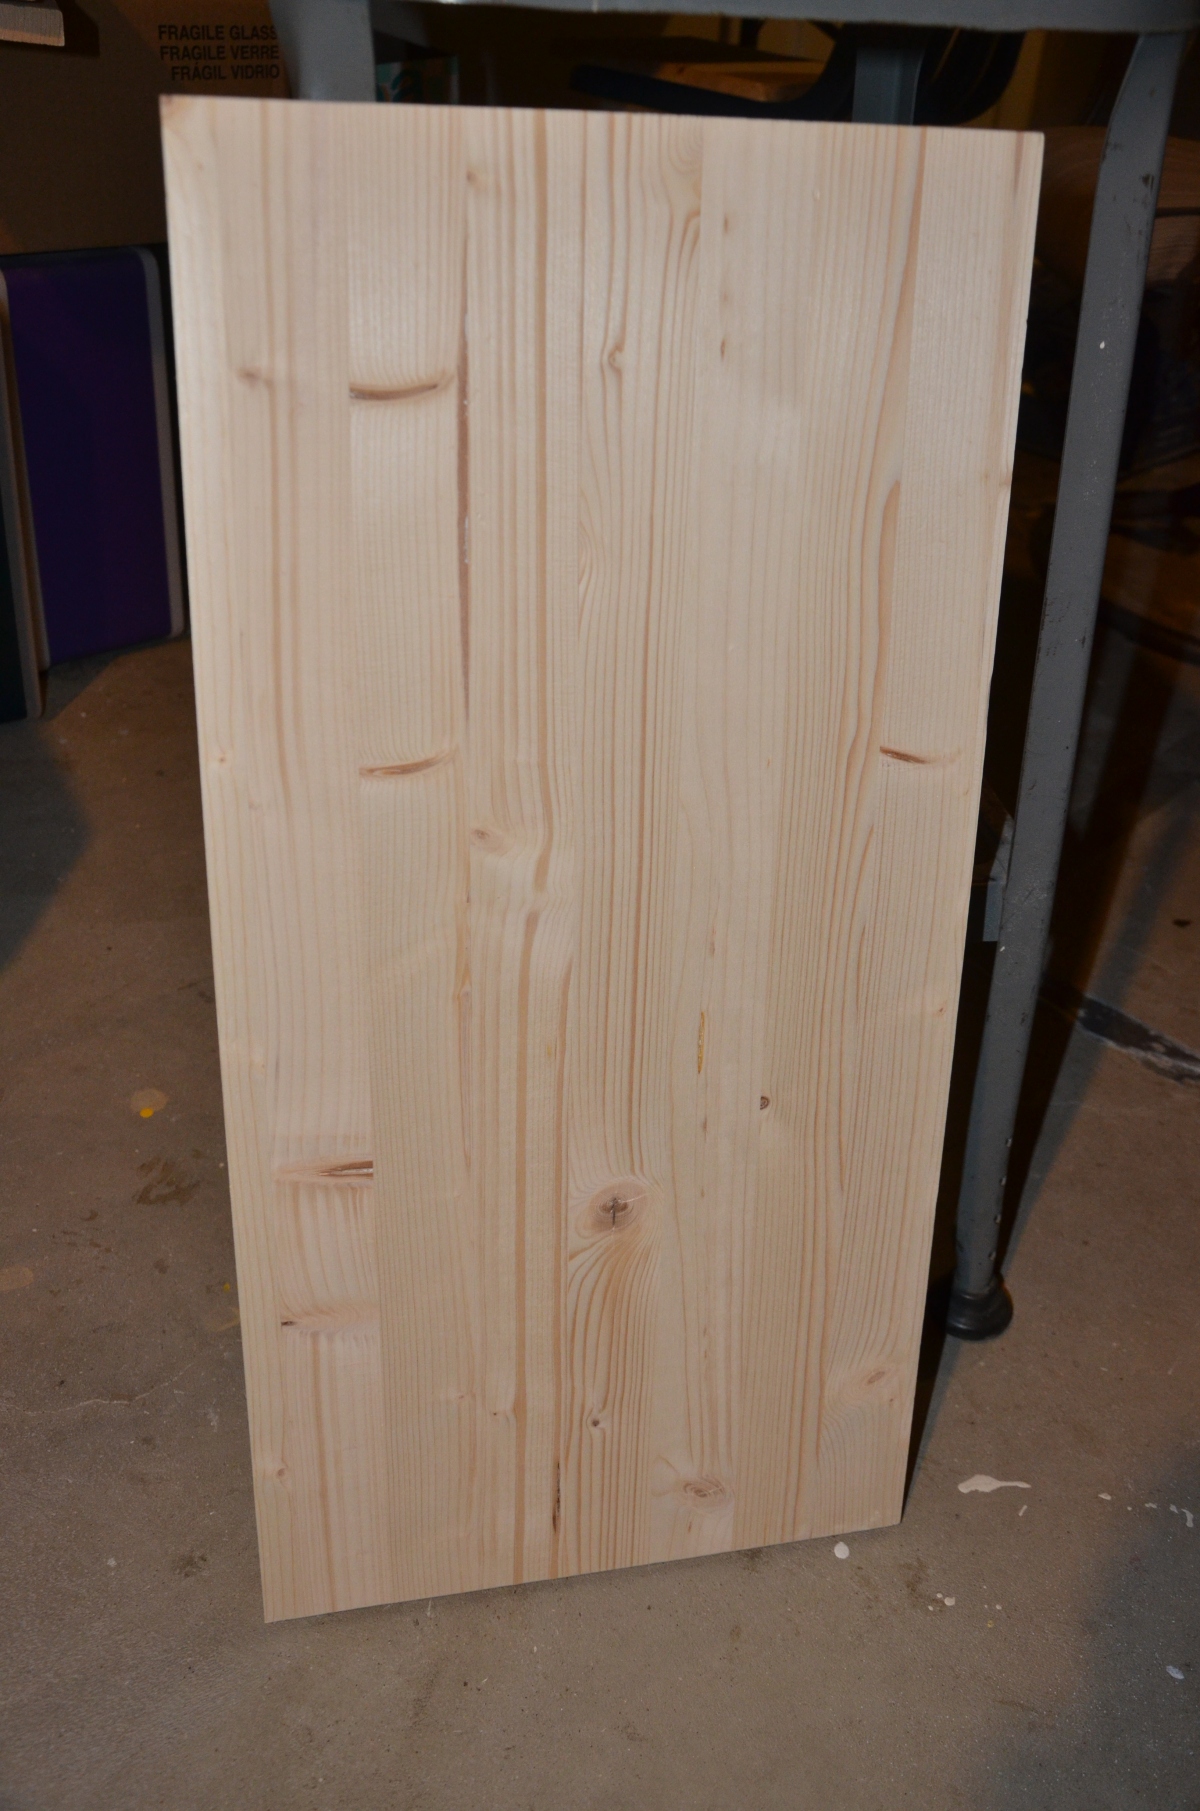
The sign base material
I prefer wood over canvas. With wood I can distress with sanding and cut it to whatever dimensions I want. I find my stenciling materials stick better to wood and frankly it costs less if you are a careful shopper. I prefer items that come in a true 12” width – because the Cricut® machines cut items that are 11.5” wide, and this makes placing my stencil easy enough to “eyeball” it.
My go to stores in my city are Lowes® and Menards® and the best deals for the wood I prefer is at Menards®. I use the “Edge Glued Pine” boards and my hubby cuts them down to size for me. Here is the link to the Menards® website for the boards. You can order them online or find something similar at your local hardware store.
Cutting the wood you buy
I have heard that most hardware stores will cut down the wood you buy. Some do it for free and some do it for a nominal fee. I however, have a DIY husband, and a son that has his own drywall and painting business. So I have them and their tools at my disposal. A couple of years ago, my husband got a new DeWalt® 12″ Sliding Compound Miter Saw and he is able to cut almost all my wood down to the size I want with it. Here is a link to the one he has – again any similar brand will do, but this one happens to be the one we own.

The only other power tool I use is a palm sander with fine grit sand paper, any brand will do. I am pretty sure mine is 20 years old!
Paint & Sealer
Paint and sealer choice can make or break your project. First of all – if you need to determine if your sign will be indoors or outside, so here are my suggestions for both.
Inside signs
I have tried almost everything out there. I started with my leftover household paints and would mix my own colors. Great for testing and small projects, but it is hard to get a consistent product to mass produce. One thing I found – eggshell or flat finish works best. Semi-gloss, gloss and enamel are too runny and don’t sand well.
I also would go get the samples mixed up at the paint counter at Lowes® I love their Valspar® brand samples and once in a while they go on sale. For the most part these were excellent to use. They will mix any color and a little bit goes a long way.
Menards® and Home Depot® and all other paint counters have similar options for samples – check out your local hardware store. Often they have a “miss tint” section where they sell their mistakes for little or nothing. I have found some hidden gems there.
Chalk paint works even better!
I know it is a trend right now, but for painting wood signs, it is wonderful. I like the Plaid® brand chalk paints. They have the American Décor® line and the Waverly Inspirations® line.


You can find it everywhere. Most craft stores carry it and if you have one that takes coupons – you can really save. If you want larger quantities, Home Depot® and Lowes®! Both carry some brands with in larger (usually quart) sizes.
I prefer chalk because there are no brush marks and it sands like a dream for distressing. Once you seal it, it is durable too.
Sealer for indoor art
For chalk paint, many use the wax sealer for whatever brand of chalk paint they use. That is fine if you are not selling your pieces. But the chalk needs to be re applied every year or so – not possible if you sell your piece, so I seal everything I make to sell – no matter what paint I use with Mod Podge® Matte Finish.
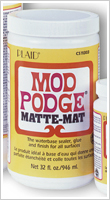
This is also made by Plaid® and I use my craft store coupon and buy the 32 oz size. I use a regular foam brush to apply it. It looks cloudy going on but dries to a clear, durable, matte finsish.
Outdoor Signs
I prefer flat, exterior paint for these. I make a popular “firepit” sign that people hang outdoors.
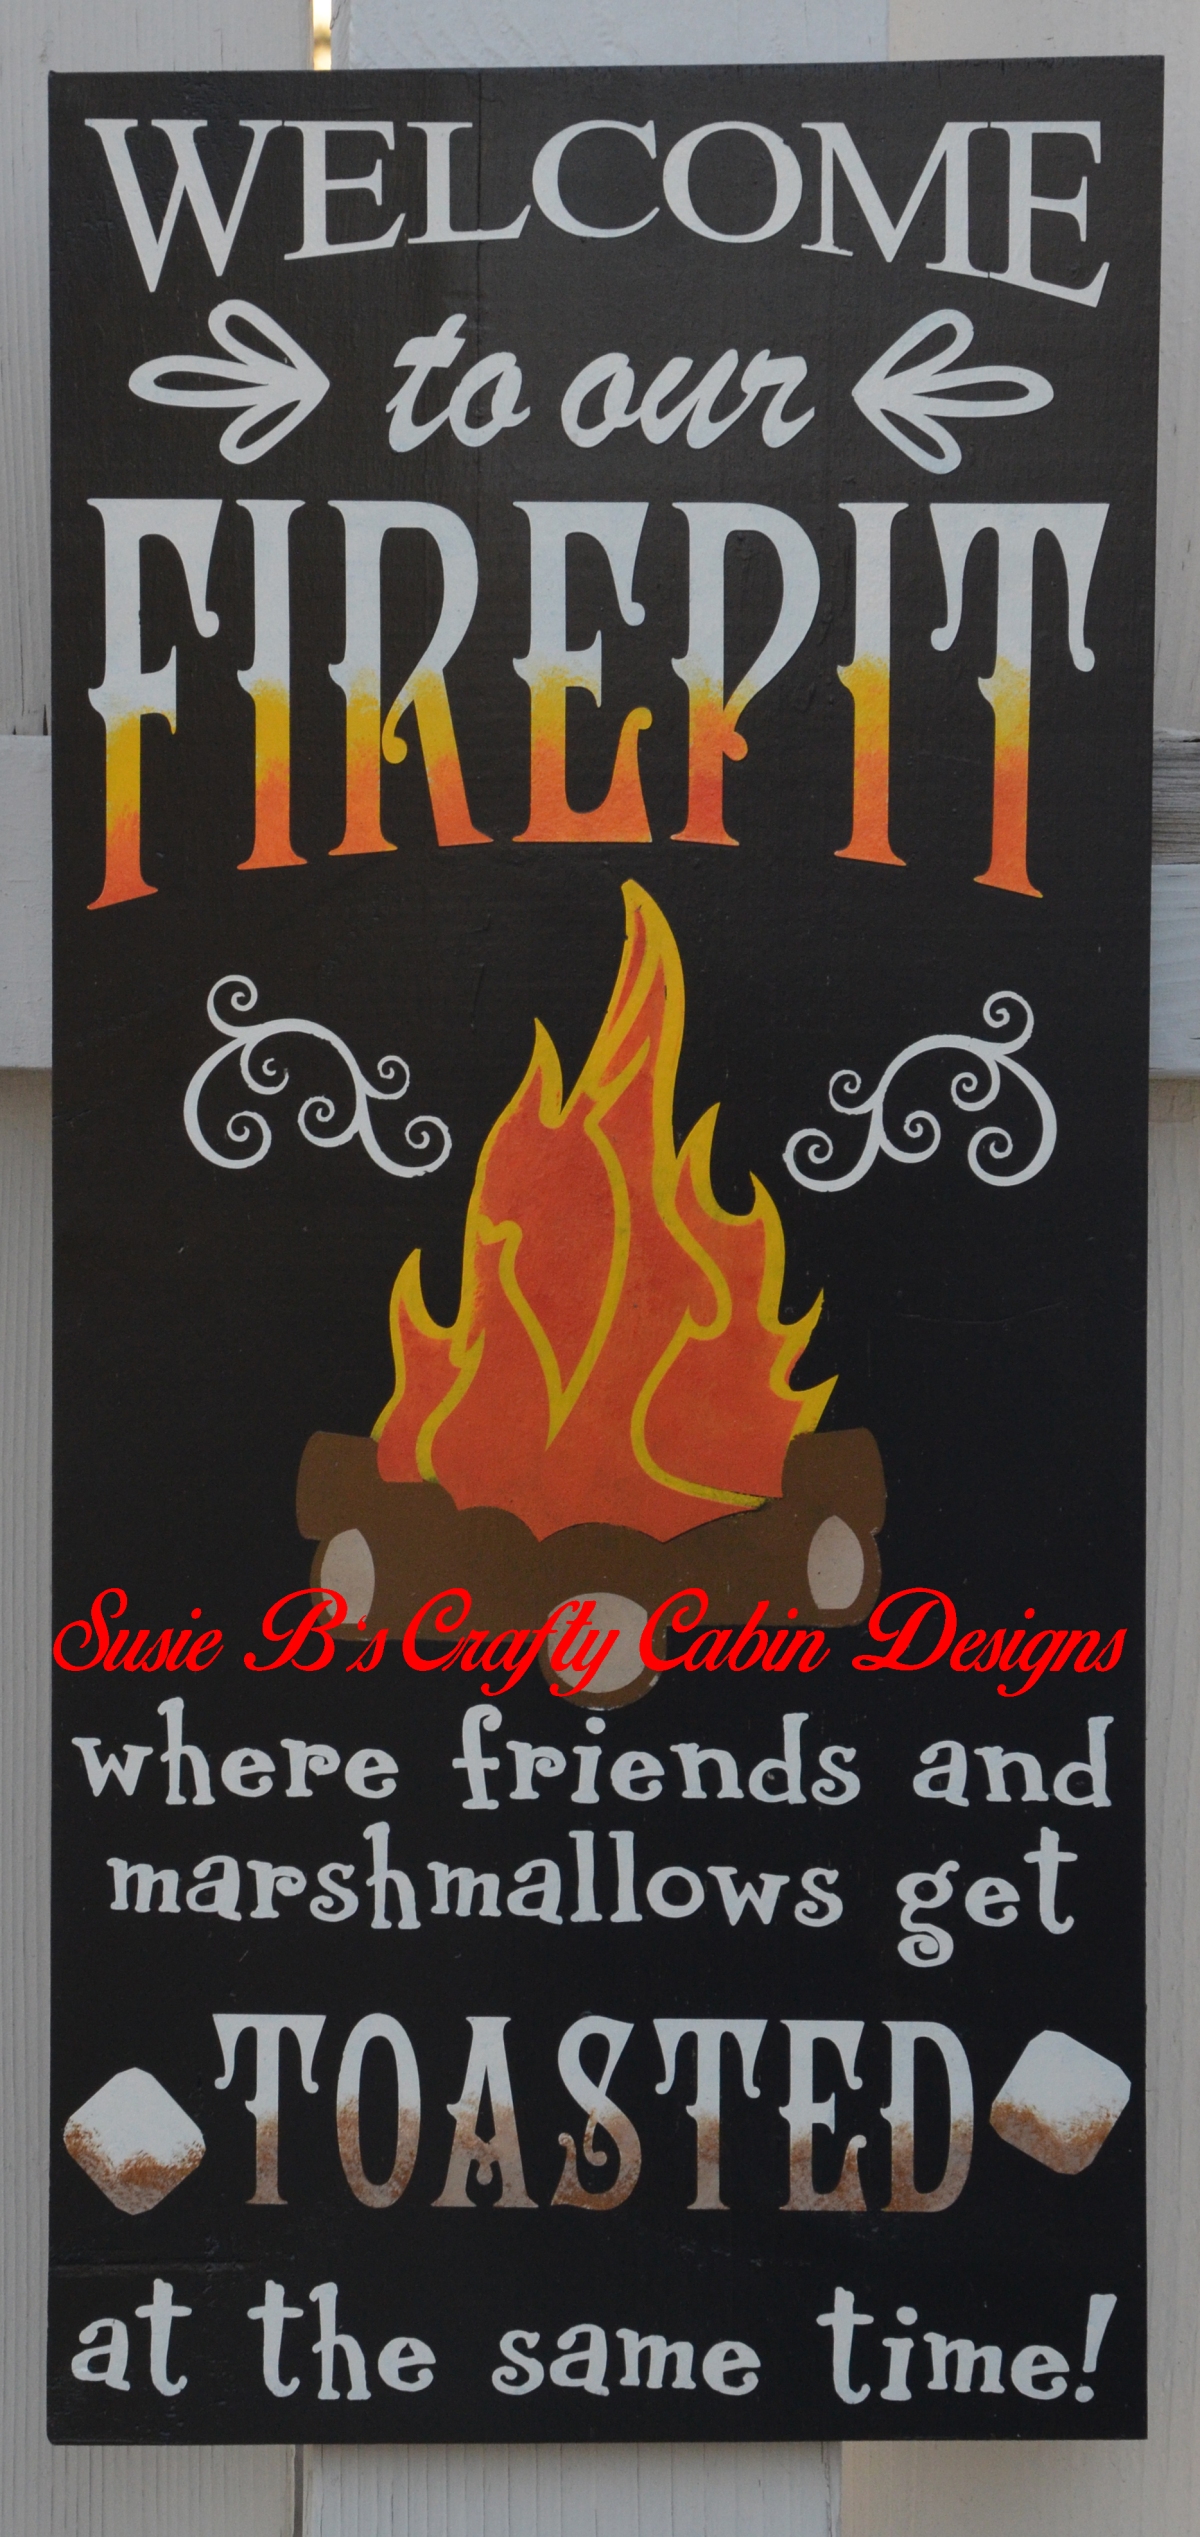
I use black flat exterior for the background and white flat exterior for the white letters, and mix up various shades for the colored parts with whatever acrylic paint I have laying around.
Sealer for outdoor art
I take these signs over to my son (the one with the painting and drywall business) and he coats them with a spray lacquer rated for outdoor use. If that is not an option for you, there are many spray sealers available in the spray paint aisle rated for outdoor use. Just read the can and do this outside. This stuff smells!
Paint Brushes
Here I tend to go for cheap. I use a lot of the foam brushes and wrap them up with baby wipes and glad press and seal to keep them wet between uses. When they get too gross, I toss them.
For chalk paint, they have those fancy brushes. I use my craft store coupons to get those, and they do work good, but they are pricey, so be sure to clean them after each use. I do the baby wipe and press and seal wrap on them if I have to use them frequently on a project, to prevent them from drying out.
Stencil Material
This again can make or break your project. If your stencil is too sticky, it will take the paint off your project. If it isn’t sticky enough, then you will have massive “paint bleed.” Many use the Cricut® or Oracal® brand vinyl. This can work great, but it is too expensive to use for a stencil – because I can only use it one time. So I found something that works great and it does not pull up the paint.
I use Duck Brand® White Laminate. It is sold in the kitchen section at Lowes® for $1.97 for a 1’ by 10’ roll. It cuts like a dream on the Vinyl + setting on the Explore and it weeds nearly as easily as regular vinyl. It isn’t the greatest for super intricate designs, but when I am doing chunky word art, it is just fine.
My number one tip for stenciling is once the stencil is on the wood, seal the edges of the stencil. That means if your board is black, then apply your stencil and paint over the edges with black paint to seal it. Let it dry, and then apply the contrasting color on top. This prevents almost all of the paint bleed. Any little bit that would occur can be touched up with a small art brush.


Transfer Tape
Anyone that works with vinyl knows this is a hot topic. What I am going to recommend is what I use when working with wooden signs and the Duck Brand White Laminate for stencil material. If I am working with glass, other brands of vinyl or putting something on the wall, I use different products. I will cover transfer tape for those projects in a future post.
I found this stuff in the Kitchen Section of Walmart®. It is Duck Brand Clear Laminate and it comes in a 1’ by 30’ roll and only costs $5.50! Here is the link to it at Walmart®.

This stuff picks the vinyl off the packing easily in one big piece. It is great for getting the alignment on your sign correct, because it is clear. Once on the sign you go over it with a Cricut® scraping tool or vinyl squeegee then you peel it back and it comes off easily leaving the stencil on the wood. You can reuse the same piece a couple of times too.
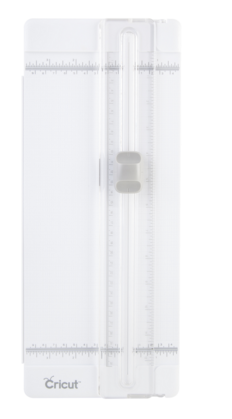
Paper Trimmer
You will need a paper trimmer to cut down the stencil material and transfer tape. I have owned several trimmers, but the new Cricut® 12” Portable Trimmer is a good option. You can also find it at your local craft store. Fiskars® and other brands are good too. You probably already have one on hand that you prefer.
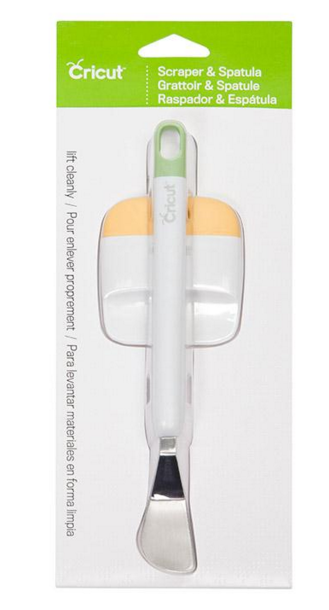
Scrapers and Squeegees
I do like the Cricut® Tools Scraper. It works well for most items. Sometimes I need something that has a little more give to it or is a bit wider. I found rubber squeegees at the auto parts store that are wide and pliable. I also like to use a “Brayer” (rubber roller) to get the air bubbles out of the stencil material on my mat.
Weeding tools
The most affordable option I found was at Harbor Freight. I had a store in a nearby town, but they sell them online too. It is a set of 5 picks for $3.49!

Baby wipes and Glad Press & Seal®
I use the baby wipes for wrapping my brushes up between uses and then seal them up with the Press & Seal®. Any brand of plain baby wipes (alcohol free) will work. They are also good for general clean up on your hands and for little spills. I also put a piece of Press & Seal® over the top of an open paint container, and then screw on the lid. It gives it an extra seal and makes it easier to open later.
Fonts
A great selection of fonts is a must. I like to buy fonts that have a commercial license, because I create and sell my SVGs for other Cricut Users here. I also sell many of the signs that I make on my Facebook page. So I can’t use just any old font. I want to respect the artist and buy what I need to create.
Therefore font bundles are the best value if you are just starting out. I have found great deals at the Hungry Jpeg. Check out their bundles section.
If you are creating just for you, and for items you will give away and don’t want to pay for a font, then go to Dafont.com. The choices are endless and fun! Just read the agreement, because many state for personal use only.
Images
Cricut® has many great cartridges for sale and you can buy them digitally and they are stored in your design space account. You can also purchase the physical cartridges at any craft store that carries Cricut® products. You can also buy a subscription to their image library for $9.99 a month or for $99.99 per year. There are tons of people that sell images too. You just have to be careful to be sure if there is a commercial license with it, if you plan on selling your finished projects. You can NEVER resell another user’s digital art, so respect the artist!
Let’s wrap this up!
I know this was a long post. But I get asked these questions all the time, so it was easier for me to create the post and send the link to people with questions. I will cover how to use all these tools to make signs in a future post. But this is a start for you, if you were struggling with where to get started and what to buy.
Also – I am a Cricut Affiliate partner. When I provide a link to their products and you make a purchase from that link, I receive a small commission. So thank you for supporting Susie B’s Crafty Cabin Designs!
Be sure to follow me and comment with any questions below.
Here is where you can find more of my work:
Links & Resources
- Previous Blog Posts
- Business Training
- Supplies for Cricut Projects
- Follow Me
- Digital Files (SVGS, Fonts & More)
- Software to design your own SVGs
- Point of Sale
