Putting on sign painting parties can be a successful addition to your handmade business. I have hosted a few and am here to share what I have learned. This is to just give you a basic starting point. You will soon be comfortable to put your own spin on things and expand your business.
Background
I sold Close to My Heart® and did home parties for nearly 10 years. So I have some basic knowledge about how to present and teach to a group of people in a party setting. I also was comfortable with hostess coaching. What I didn’t like about direct sales was trying to recruit. That’s what I like about doing sign parties on my own. I just worry about getting bookings and doing the parties. There’s no additional selling or recruiting.
The hostess and the guests appreciate not being pressured to buy additional items and worry about being pressured by a hard sell recruiting pitch.
Will hosting parties hurt my sales?
Many people are worried if they do parties, their customers won’t purchase from them anymore. I have not found this to be the case. My customers who come to the parties still purchase other items from me and I gain new customers with every party.
I look at it like selling 15 signs in a week, which would be a really good week for me. I charge the guests the same price to paint a sign as if I sold it to them and I had done all the work. So I come out ahead.
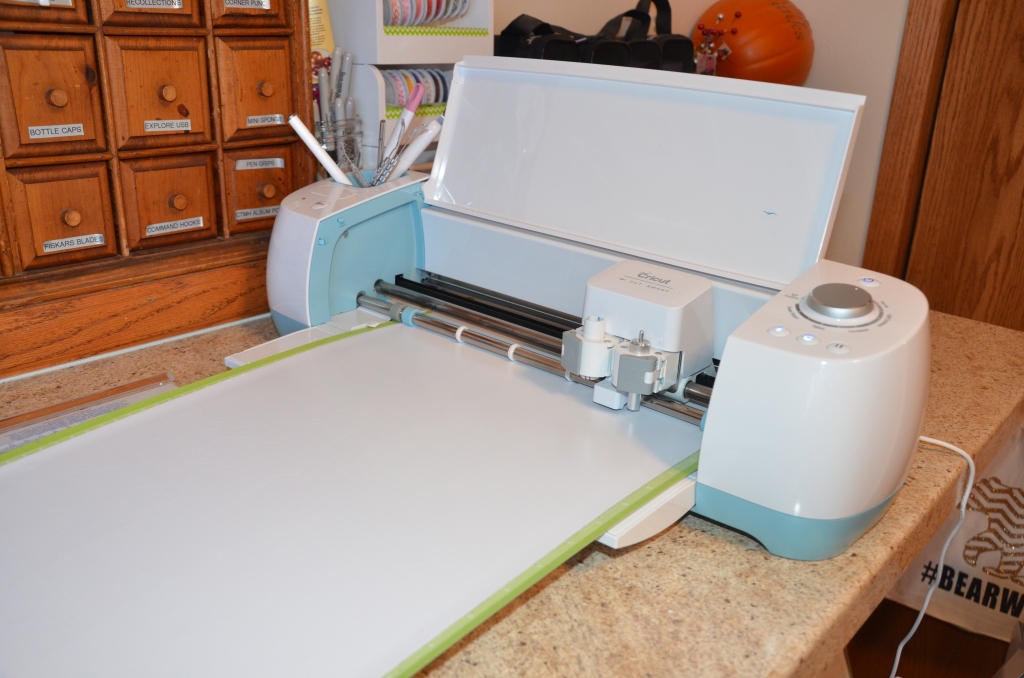
Some guests ultimately ask “what machine do you have” or “how do you do this”? I give general answers such as “I create my designs from scratch using graphics software and I use an electronic die cutting machine.” I tell them if they need more info on the machine, to please see me after the class. I then give them my affiliate link to the Cricut® website, so at least I get a little commission if they buy a machine.
If they decide to get a machine and make their own designs that is fine, not everyone would be teaching classes, as that is a large investment in time a lot of people don’t have.
How do I get started?
I decided many months ago that I wanted to start hosting parties. I did some research and started stocking up on supplies when I had the money. I also knew that I needed an online option for having my guests to sign up, so I started up a site on “Shopify,” The bonus is I can also use that site to sell my products and my SVGs. So it was a better fit for me than Etsy.
I spent time accumulating paint, aprons, portable tables, and more. I became familiar with how my website worked, and began planning out how I wanted my parties to “flow.” I kind of looked at this as building my business plan. The more preparation the better, it helps you be successful from the start.
Also, before you teach anyone how to paint signs, you best become an expert yourself. You need to develop some popular designs to offer your guest and master them, so you can ensure your guests can count on you to help them be successful.
Decide on the type of party you want to host.
I polled some of my friends and customers that had went to the “canvas” painting parties. While they all had fun, almost all commented they came away from those parties with a product they didn’t necessarily want to display in their homes or give away as a gift. Most were not fond of doing freehand painting. So I used that information to plan how I wanted my parties to work.
I wanted each guest to be proud of what they made. I wanted them to be proud to give it as a gift, if they wanted. I didn’t want to be messing around with cutting stencils on site. And I wanted to have a fun and relaxing atmosphere so I would get bookings for future parties.
I decided to be prepared to host parties for guests or less. I was going to have everyone register online and pay in advance. I would do the base coat on each sign and design, cut and apply the stencil for the guests. I wanted the guests to show up and paint – and some signs have a second stencil and I help them apply that to ensure success.
Others don’t do as much prep work, but I feel by doing these steps, it is like guaranteeing that they will have a successful experience and have a sign they can be proud of. So for now, I am sticking with that plan. If a group wants a more “advanced” class, I can off those in the future.
Supplies
This can make or break your profit. You want good quality, but you want to make money at this as well. So here is what I use – you can use these items, or not….I am just telling you what works for me.
Paint
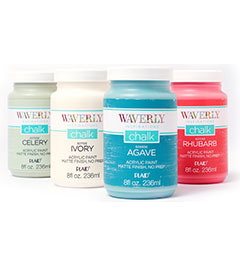
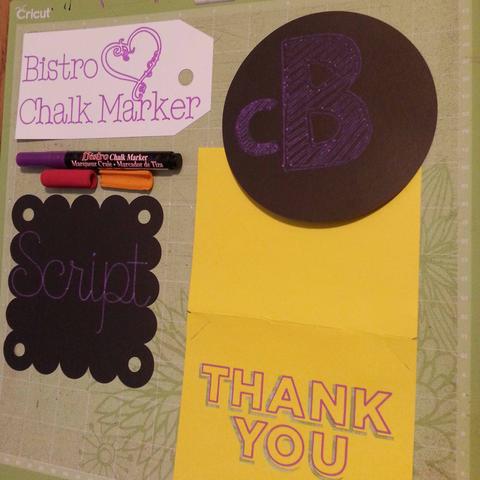
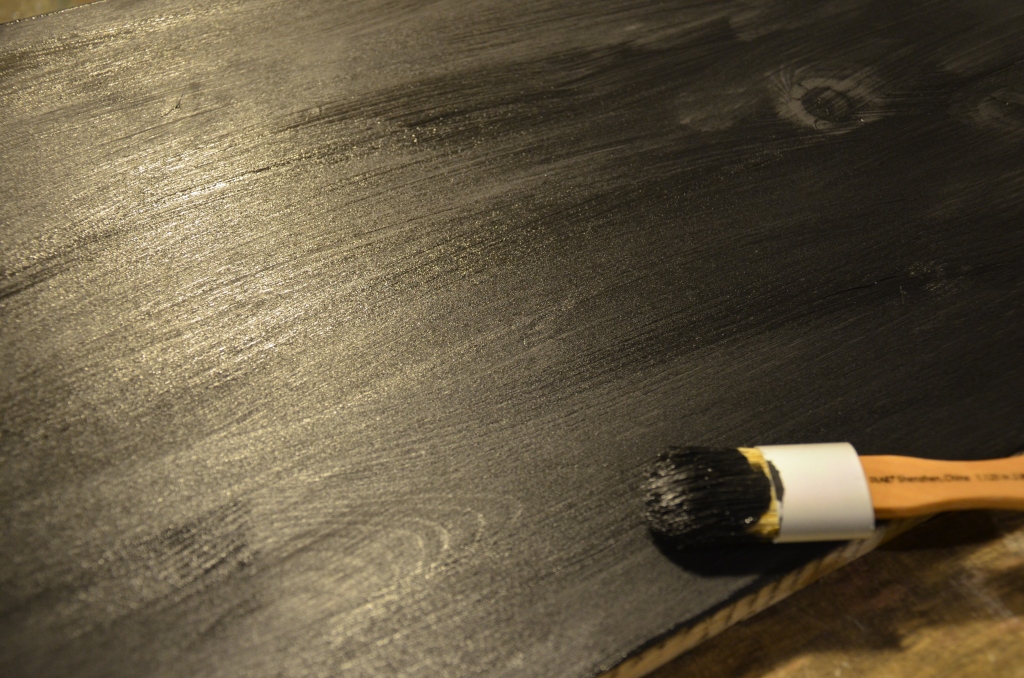
I use Chalk Paint for many reasons. A little bit goes a long way. It sands and distresses easily and it covers well in one or two coats, depending on the color.
Chalk paint comes in a variety of options and price ranges. I prefer to use the Waverly® brand available at Wal-Mart®. It is affordable, and has a good consistency and thickness. It is readily available and affordable at about $10 for a 16 ounce bottle.
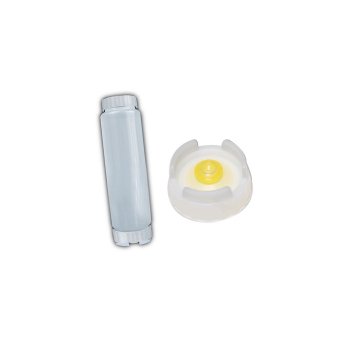
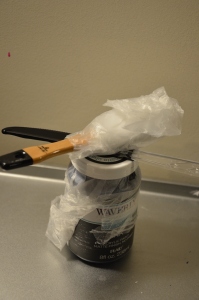
I put the paint I purchase into FIFO bottles I got on Amazon to make it easier to dispense at parties and reduce waste. If you are worried about them leaking, just put a piece of Press N Seal over the bottom. They are great for dispensing just a little bit of paint at a time. I just put a dab of paint on the lid to show the color.
Stain
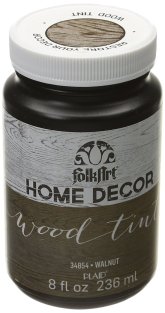
I wanted something fairly odorless and that the stencil would stick to. Some stains are toxic smelling and stencil material has issues sticking to the stain. I stumbled across a product that seems to work great and it was made for working with chalk paint. It is called “Wood Tint” from American Décor Folk Art. It comes in Walnut, Blue, Gray, White and Oak. I have tried all the shades and like the Walnut, blue and gray the best. I usually make my own “white wash” and oak is a little to orange for my taste.
It is about $9 for an 8 ounce bottle. But a little bit goes a long way. I can do 20 to 30 signs with one bottle. I have to order it from Amazon because I can’t find it locally. But you might have better luck.
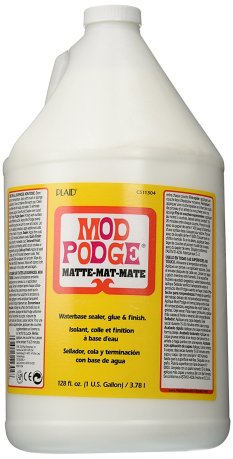
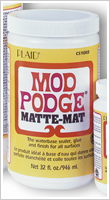
I use this to seal the stencil and to seal the sign when they are finished. I but this in by the gallon from Amazon! I put it in see through ketchup bottles to make it easy for the guests to use. I choose not to seal with wax, because it has to be re-applied every few months. Mod Podge goes on easier than wax and is longer lasting. One coat usually does it.
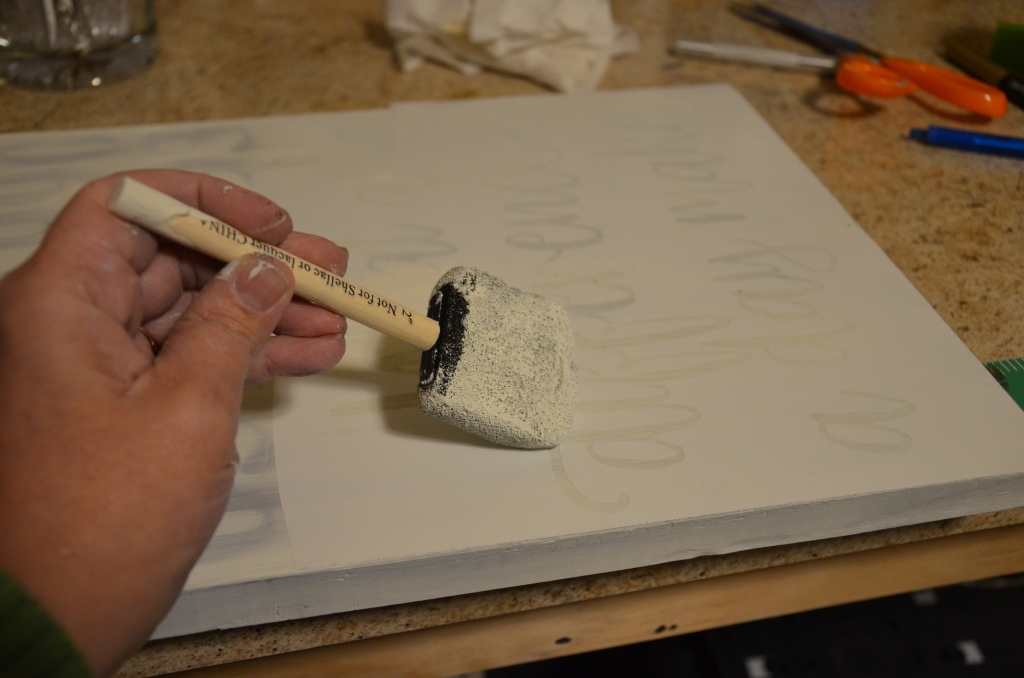
Brushes
I have everyone use foam brushes for most of the designs. We do use some of my good art brushes for fine detail and touch ups. I get foam brushes in various sizes from Menards. I have the guests wrap them up in baby wipes to keep them from going dry, and I wash them out and reuse them when I get home. I can usually get two to three uses out of each one, and then I toss them when they are no longer usable. I never wash brushes at the hostess’s home. I do all clean-up at my place afterward.

My Logo on the aprons
I decided I wanted to provide cloth aprons for my guests. I decorated them using HTV with my logo and others with a cute phrase. I did this to protect the guests’ clothing and they are a great marketing tool. They look great in pictures and the guests love wearing them. I found some on Amazon; they come in a 3 pack for under $10. Sam’s® had similar ones as well. They wash up well and the guests rarely get paint on them anyway.
Others use disposable aprons. I found these on Amazon.
Rubber Gloves
I have a box of disposable rubber gloves that I bring to every party. Some guests don’t want to use them. Others appreciate having them.
Baby Wipes
I have a pack at every table. I have the guests use them to clean up their hands, if needed and to wrap up the brushes so they don’t dry out. I buy the cheapest ones I can find.
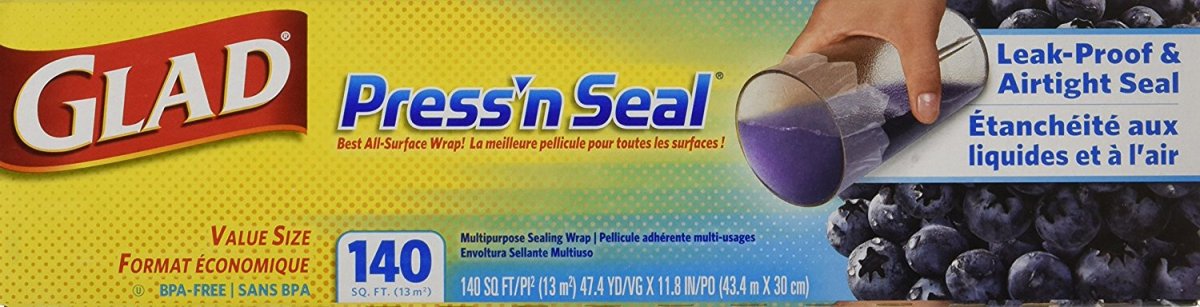
We use this to wrap up the brushes at the end of the party and to pick up paint flakes off their signs before sealing.
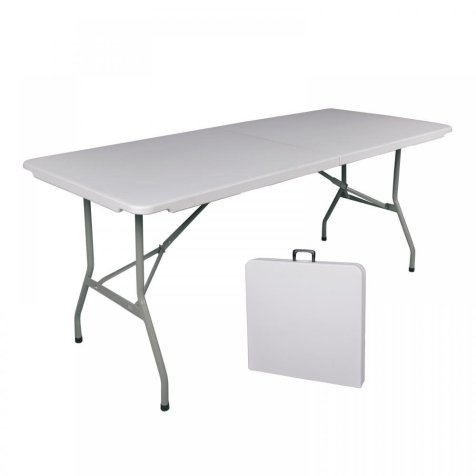
Not all hostesses have adequate table space, so I invested in two 6’ foldable tables I found Amazon. I use these for tables at craft fairs too, so I could justify the investment. I also host some parties at my home and need additional tables for that. They fold up to a manageable size and are lightweight are fairly sturdy.
I also invested in a roll of the plastic table covering from my local party store. I have the hostess cover her tables at her expense, but I do bring my roll for my tables and in case she forgets.
Painter’s Tape
I have the guests tape off all exposed parts of the sign with painters tape. I bought several rolls on sale in varying widths and put them out on the tables for the guests to use.
A way to “Elevate” the sign
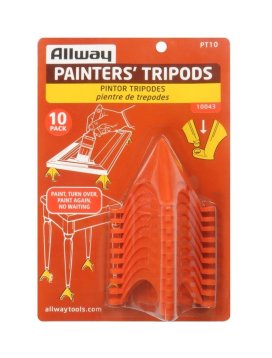
I use Painters’ Tripods Each guest gets 4 and they put them under their board to elevate it so they can easily paint the sides of their signs.
Paper Plates
I buy the small “desert” size paper plates. I buy the cheapest ones. Each guest gets a few. One or two for their paint and one to use as a fan to speed up the paint drying process will do.
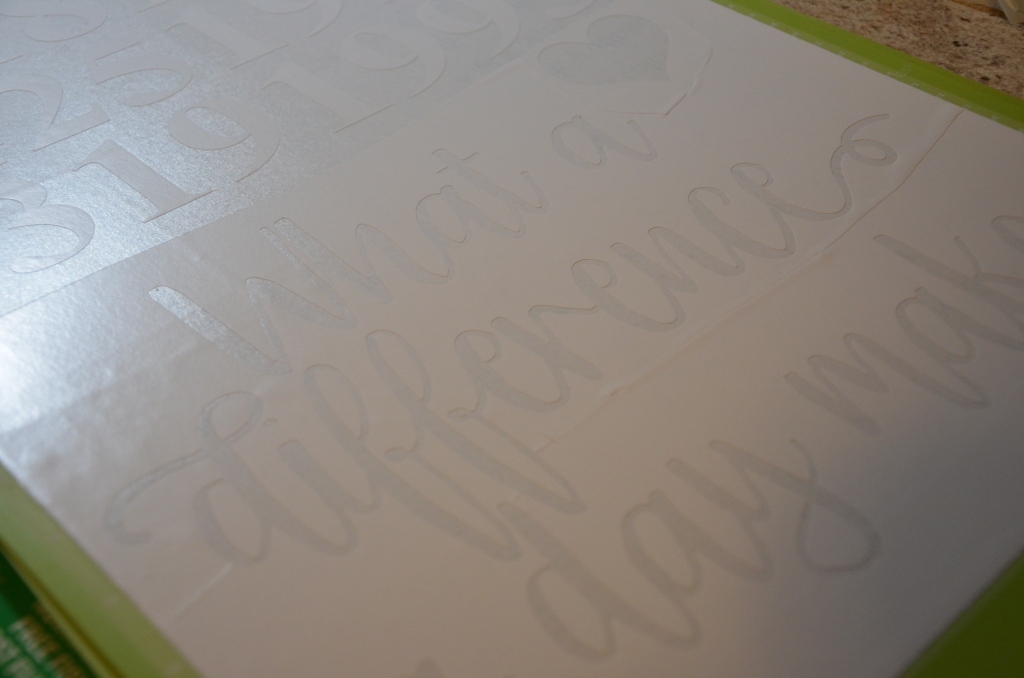
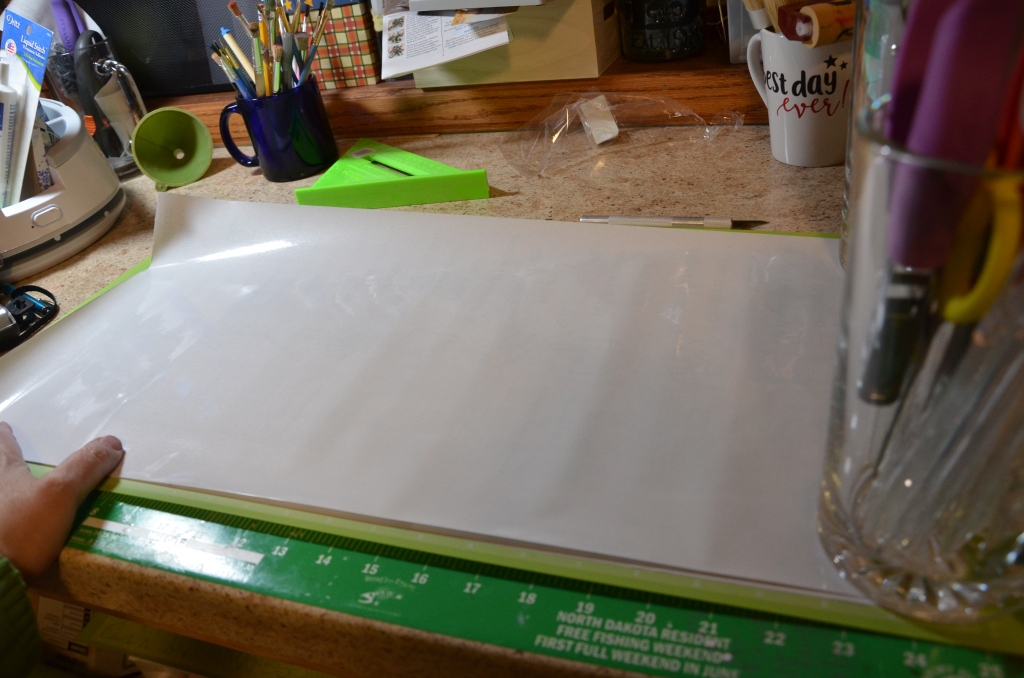
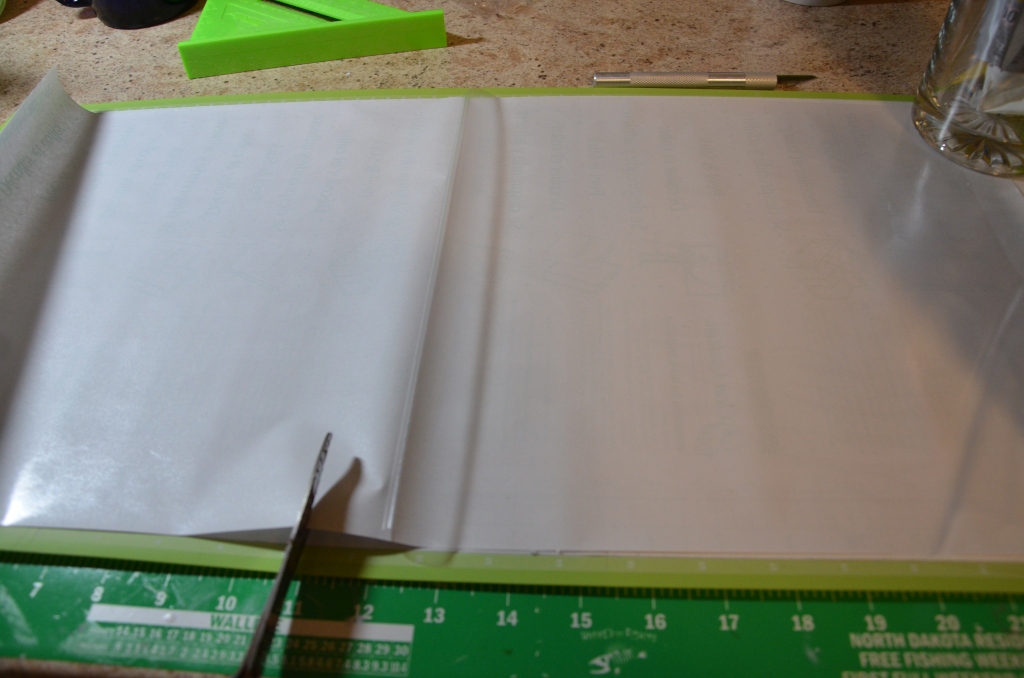
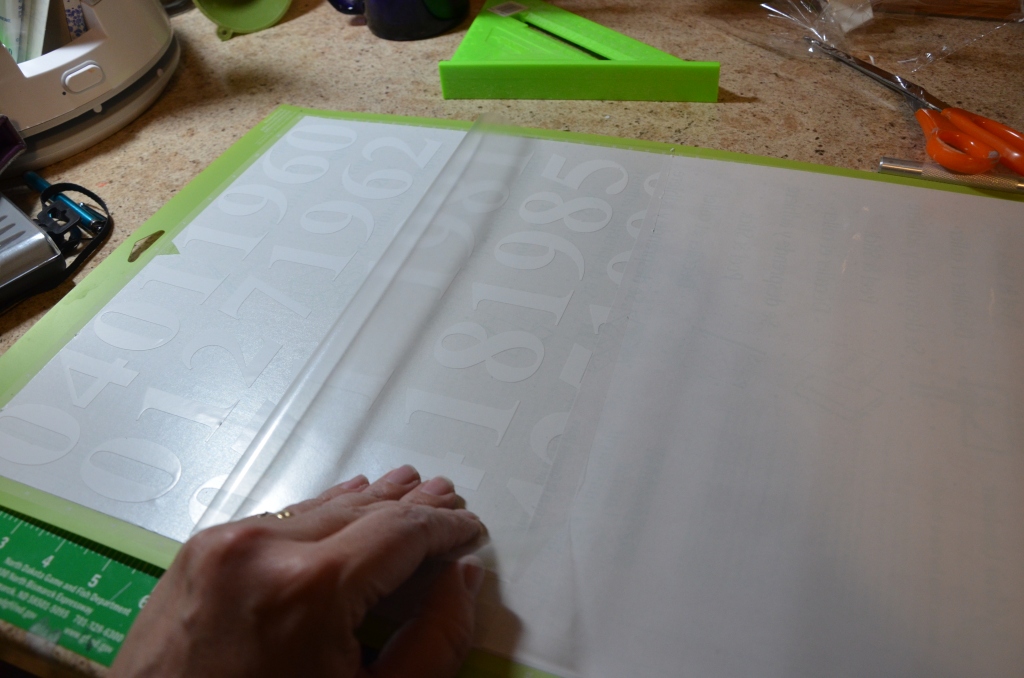
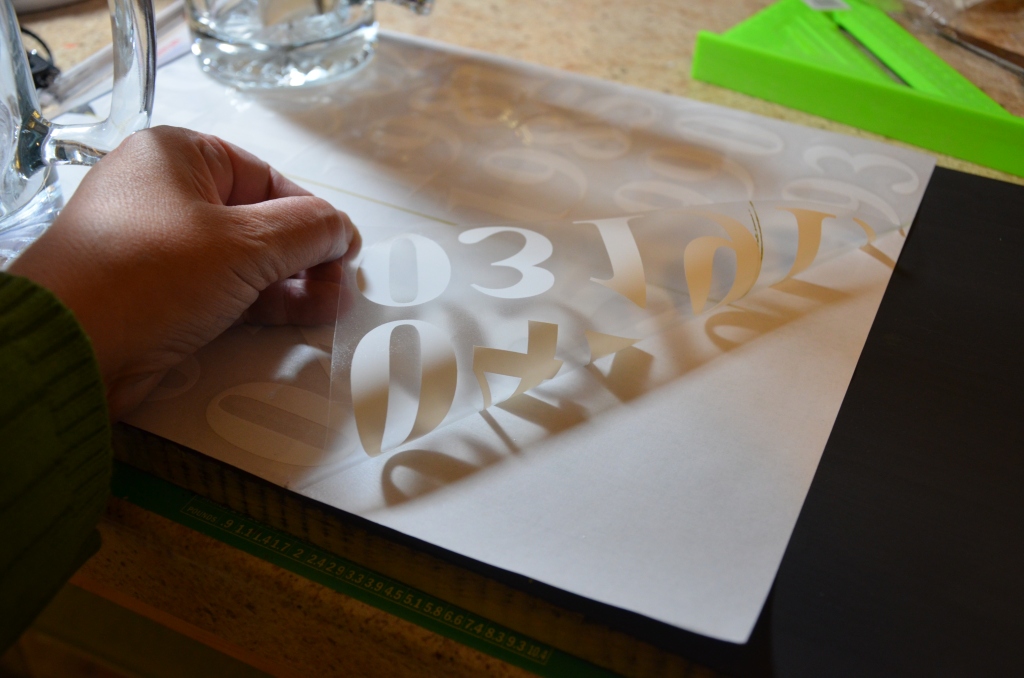
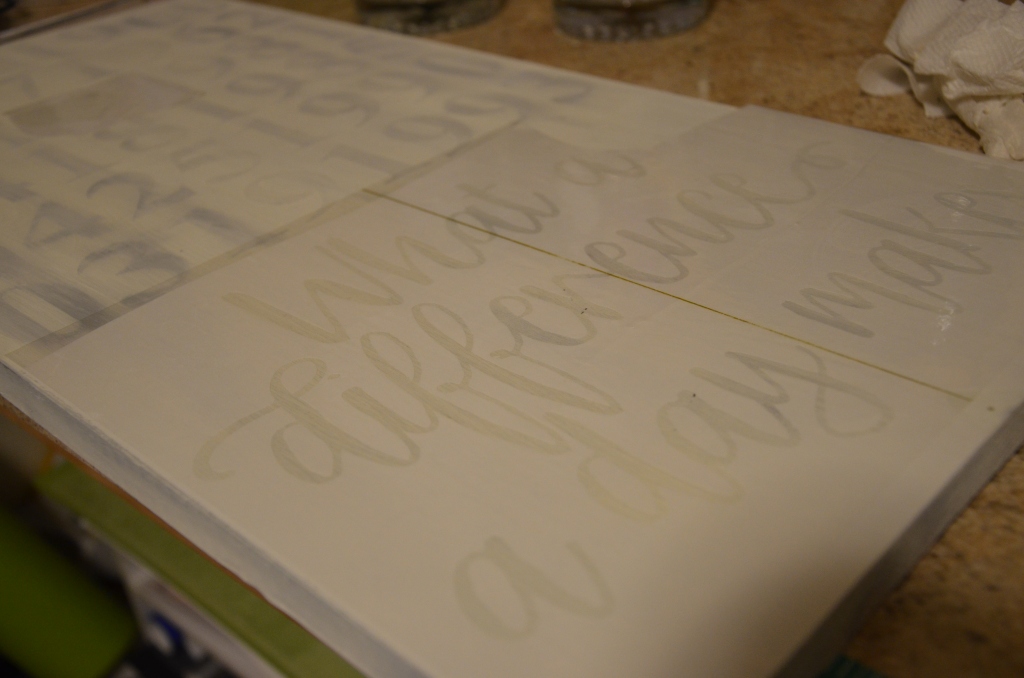
Stencil Material
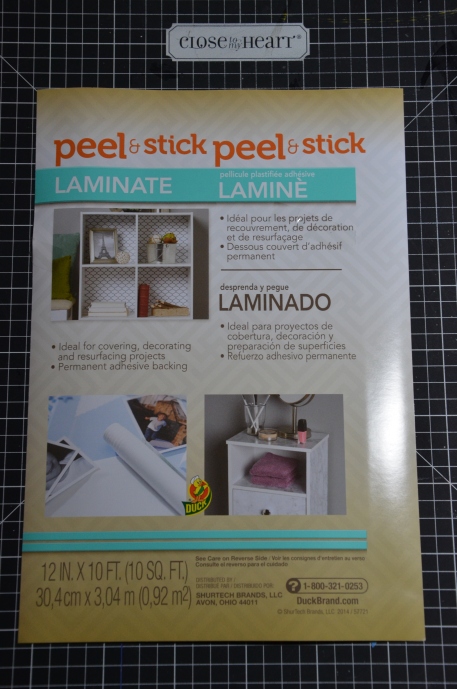
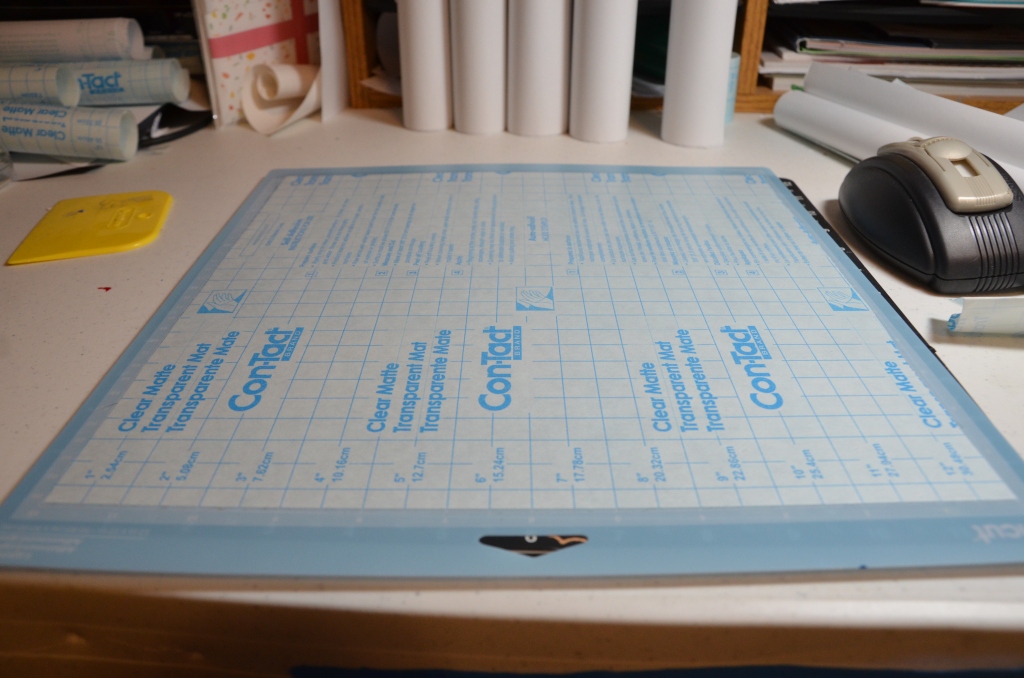
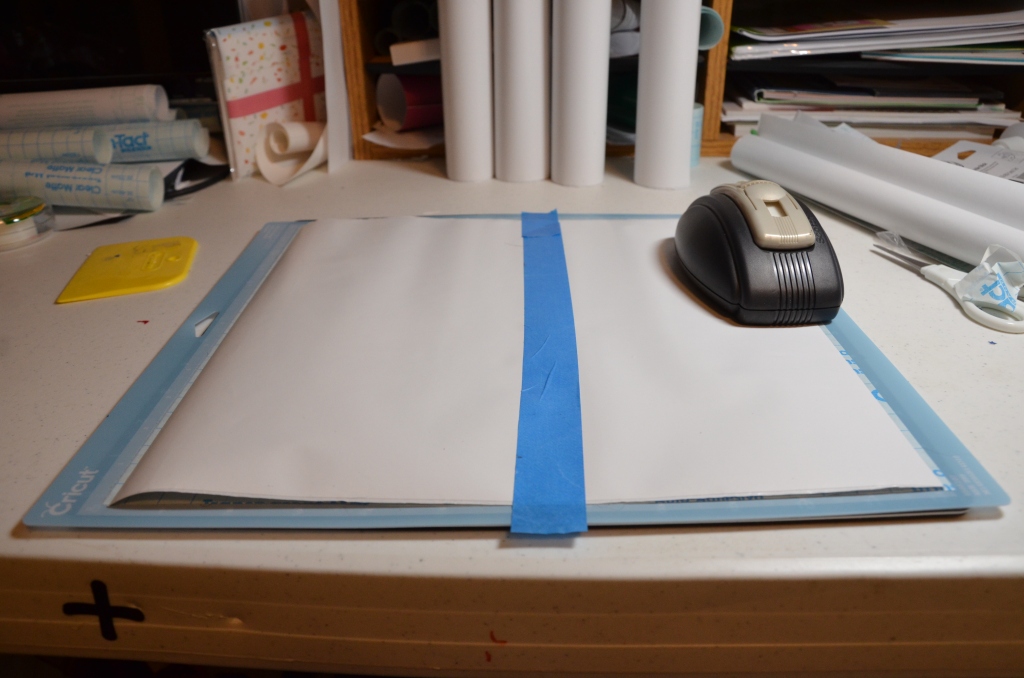
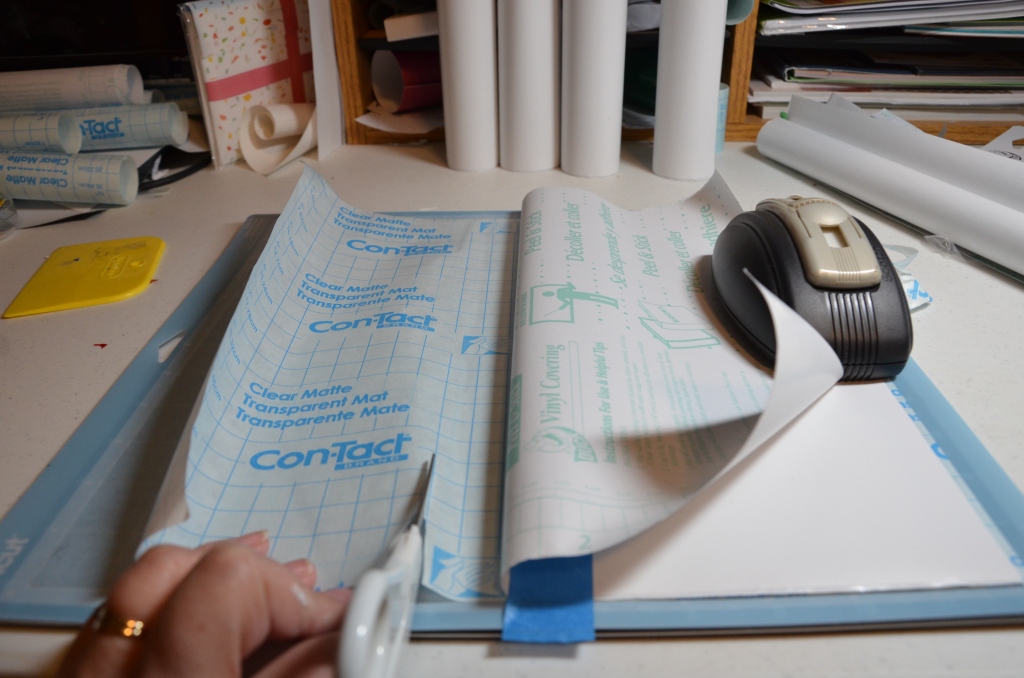
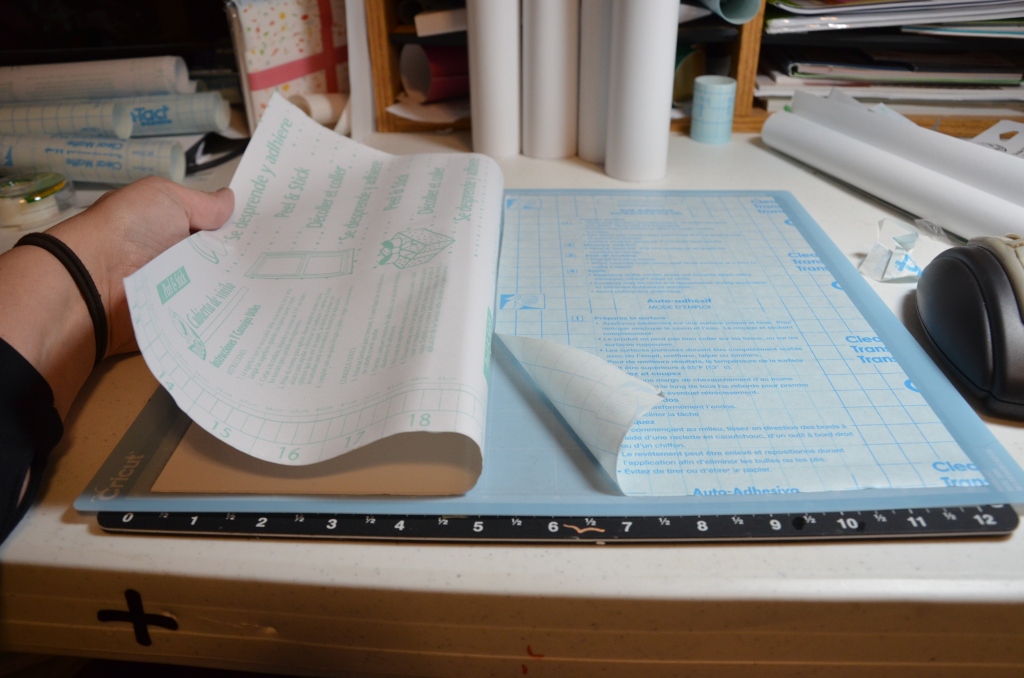
There are a lot of options and you probably have something you already prefer. I use Duck Brand White Laminate® because as long as the design is not overly intricate, it cuts and weeds like butter. The other plus is that it rarely pulls up the wood or paint when you remove it. It is also very affordable. The paper backing is super thin though and sticks to the mat – unless you use my “Clean Mat Sandwich” technique that I explain in this post.
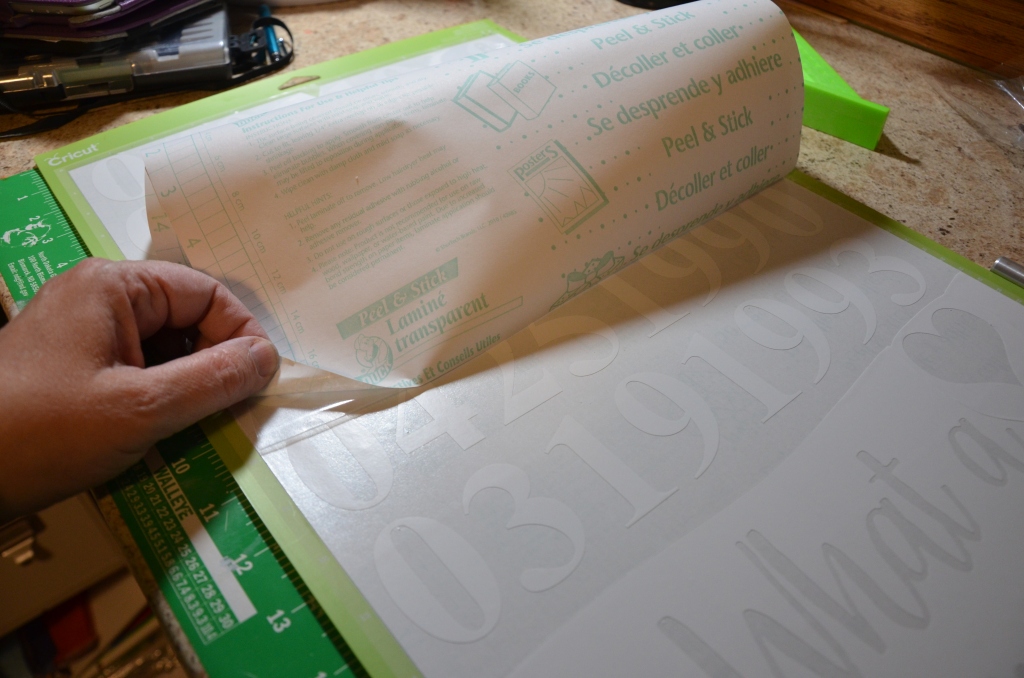
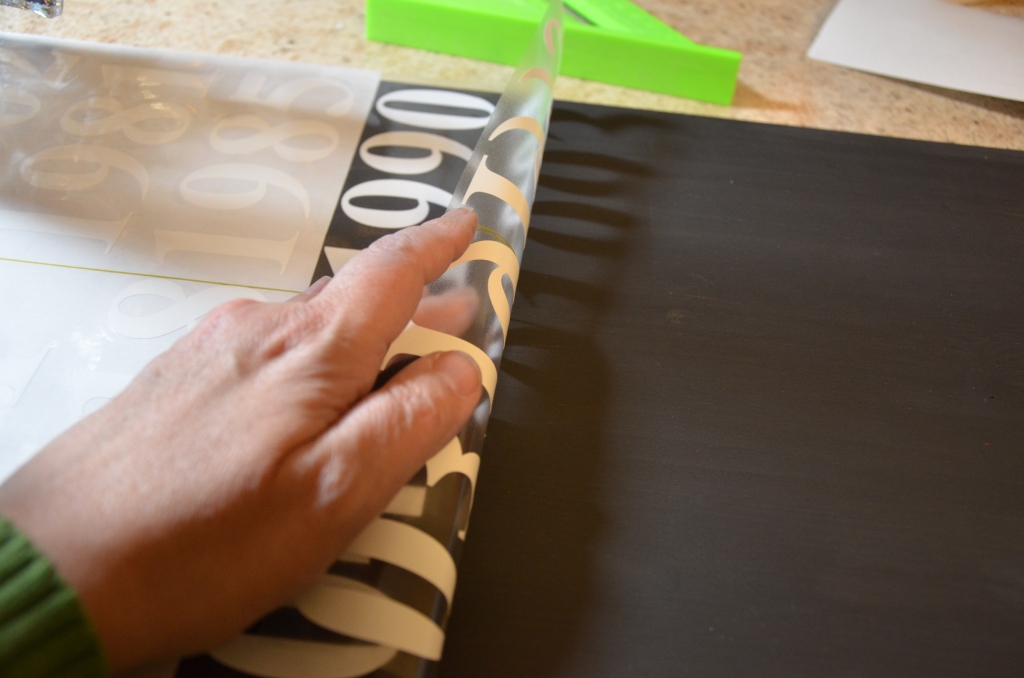
Transfer Tape
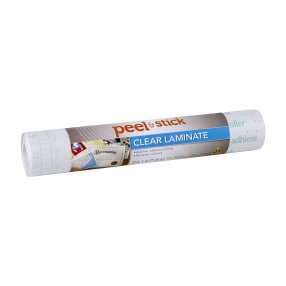
For wood signs, I use Duck Brand Clear Laminate® that I get either at Wal-Mart® or Amazon. It is a bit too sticky so I just de-stick it on my t-shirt fist, or press it on the carpet. It picks up the stencil like a champ and is clear so it is easy to see if you are applying the stencil correctly.
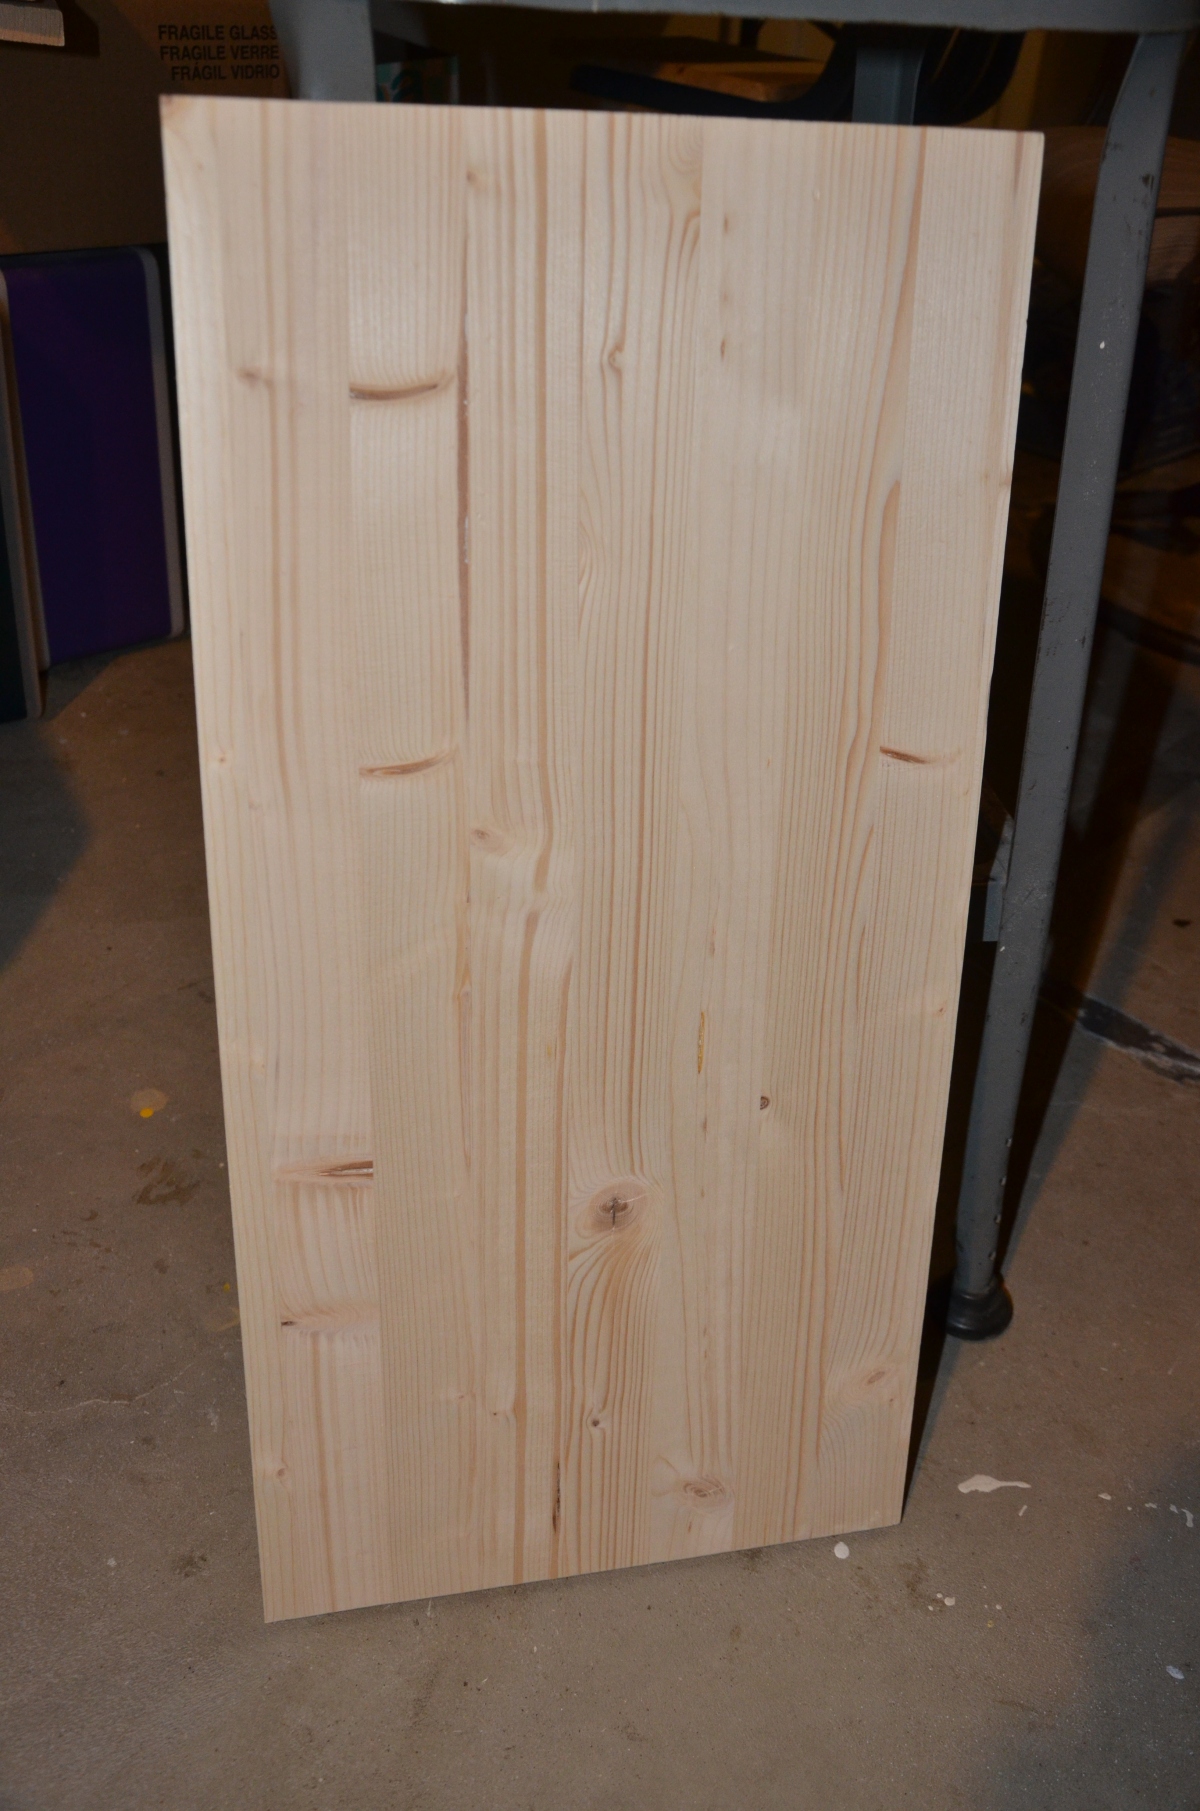
Boards
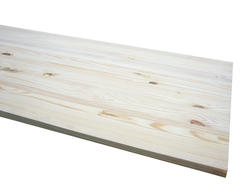
For now, I am using Edge Glued Pine Boards for most of my signs. They are always straight and made with good quality wood. They come in a variety of sizes. My husband cuts them down to size for me.
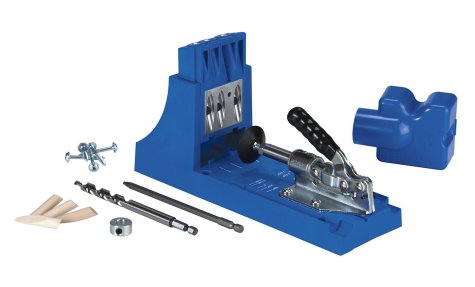
I plan on starting to make my own pallet signs using a Kreg Jig for some special signs.
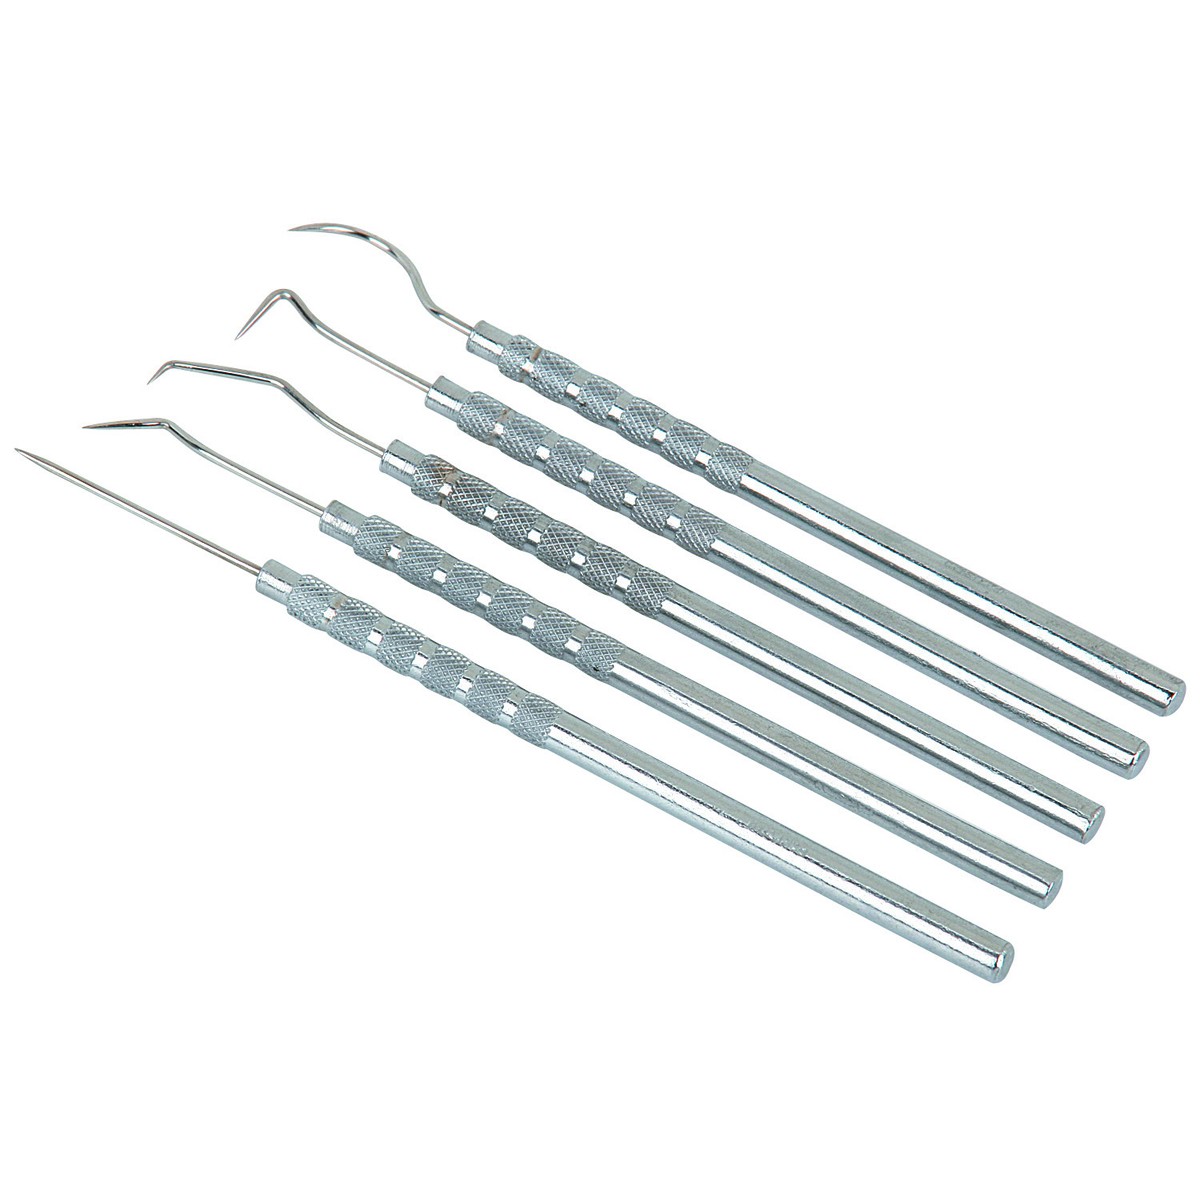
Weeding tools
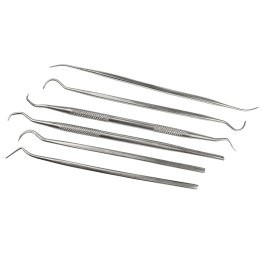
The guest needs these to pick off the stencil at the end and I stocked up on the picks that come 6 to a pack from Amazon.
Prizes
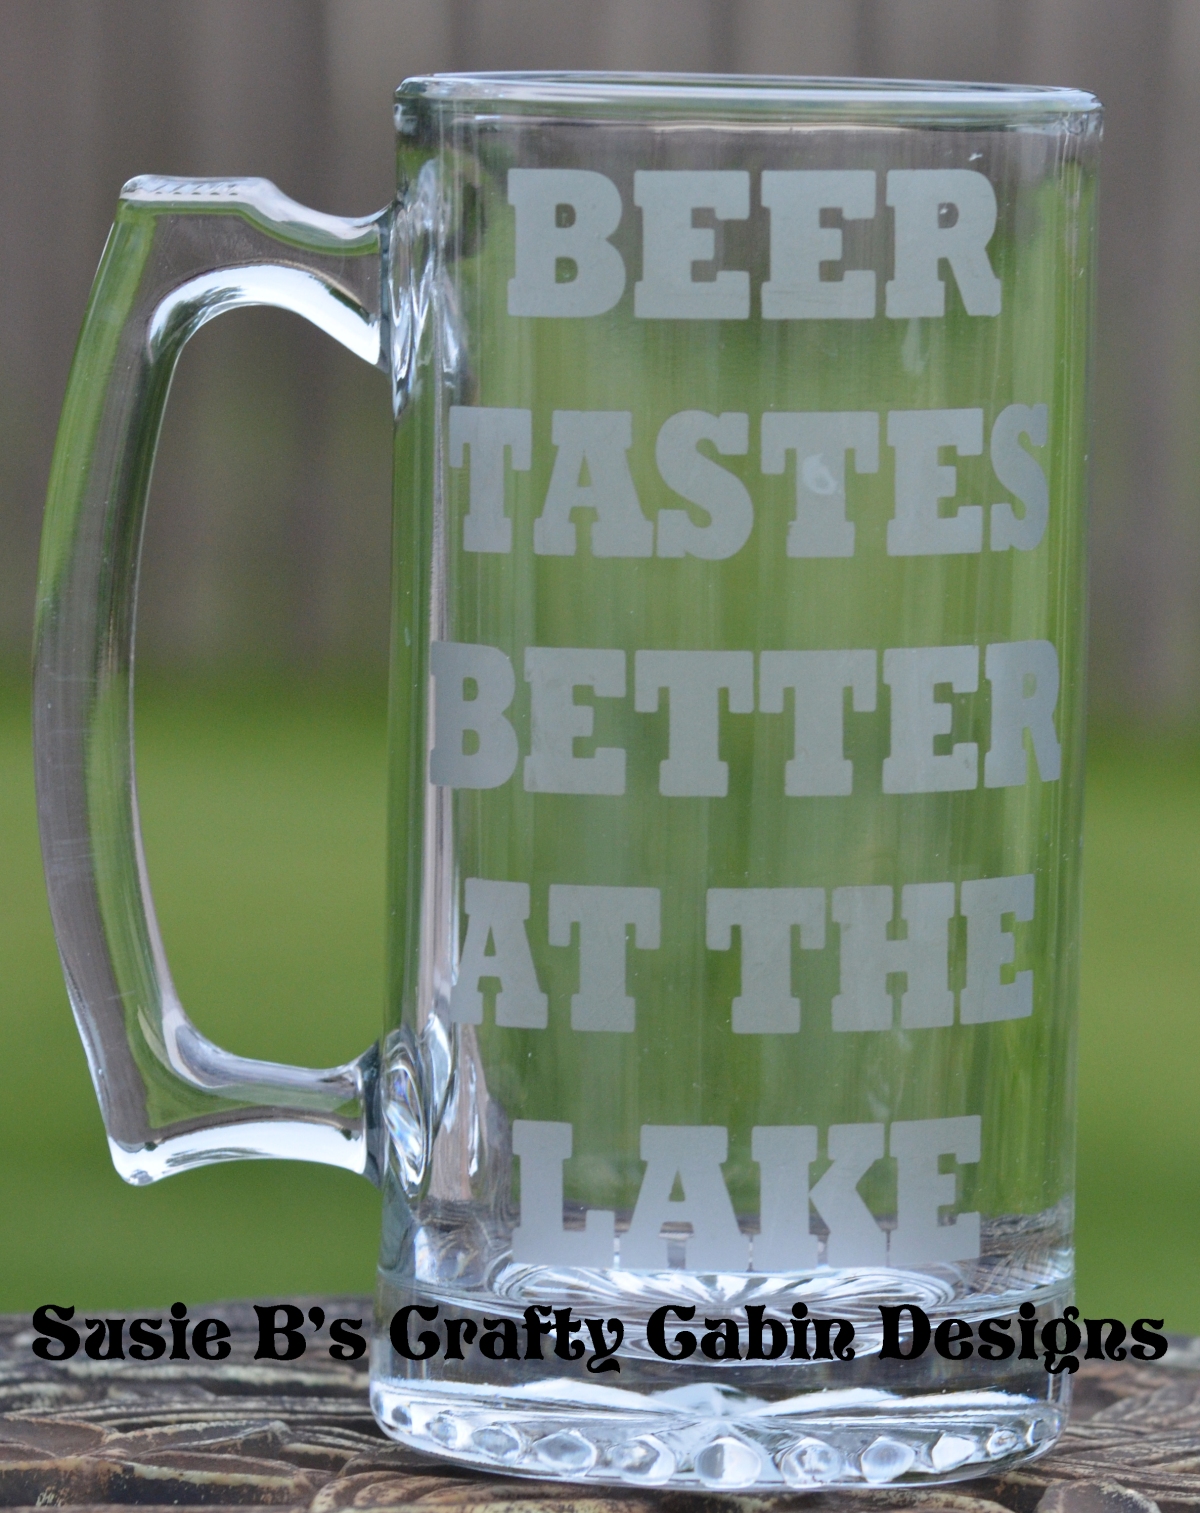
I bring some small items for prizes. Nothing fancy or expensive, usually mugs or wine glasses from the dollar store that I have decorated with a fun decal. I usually do 3 per party.
Do a “test” party
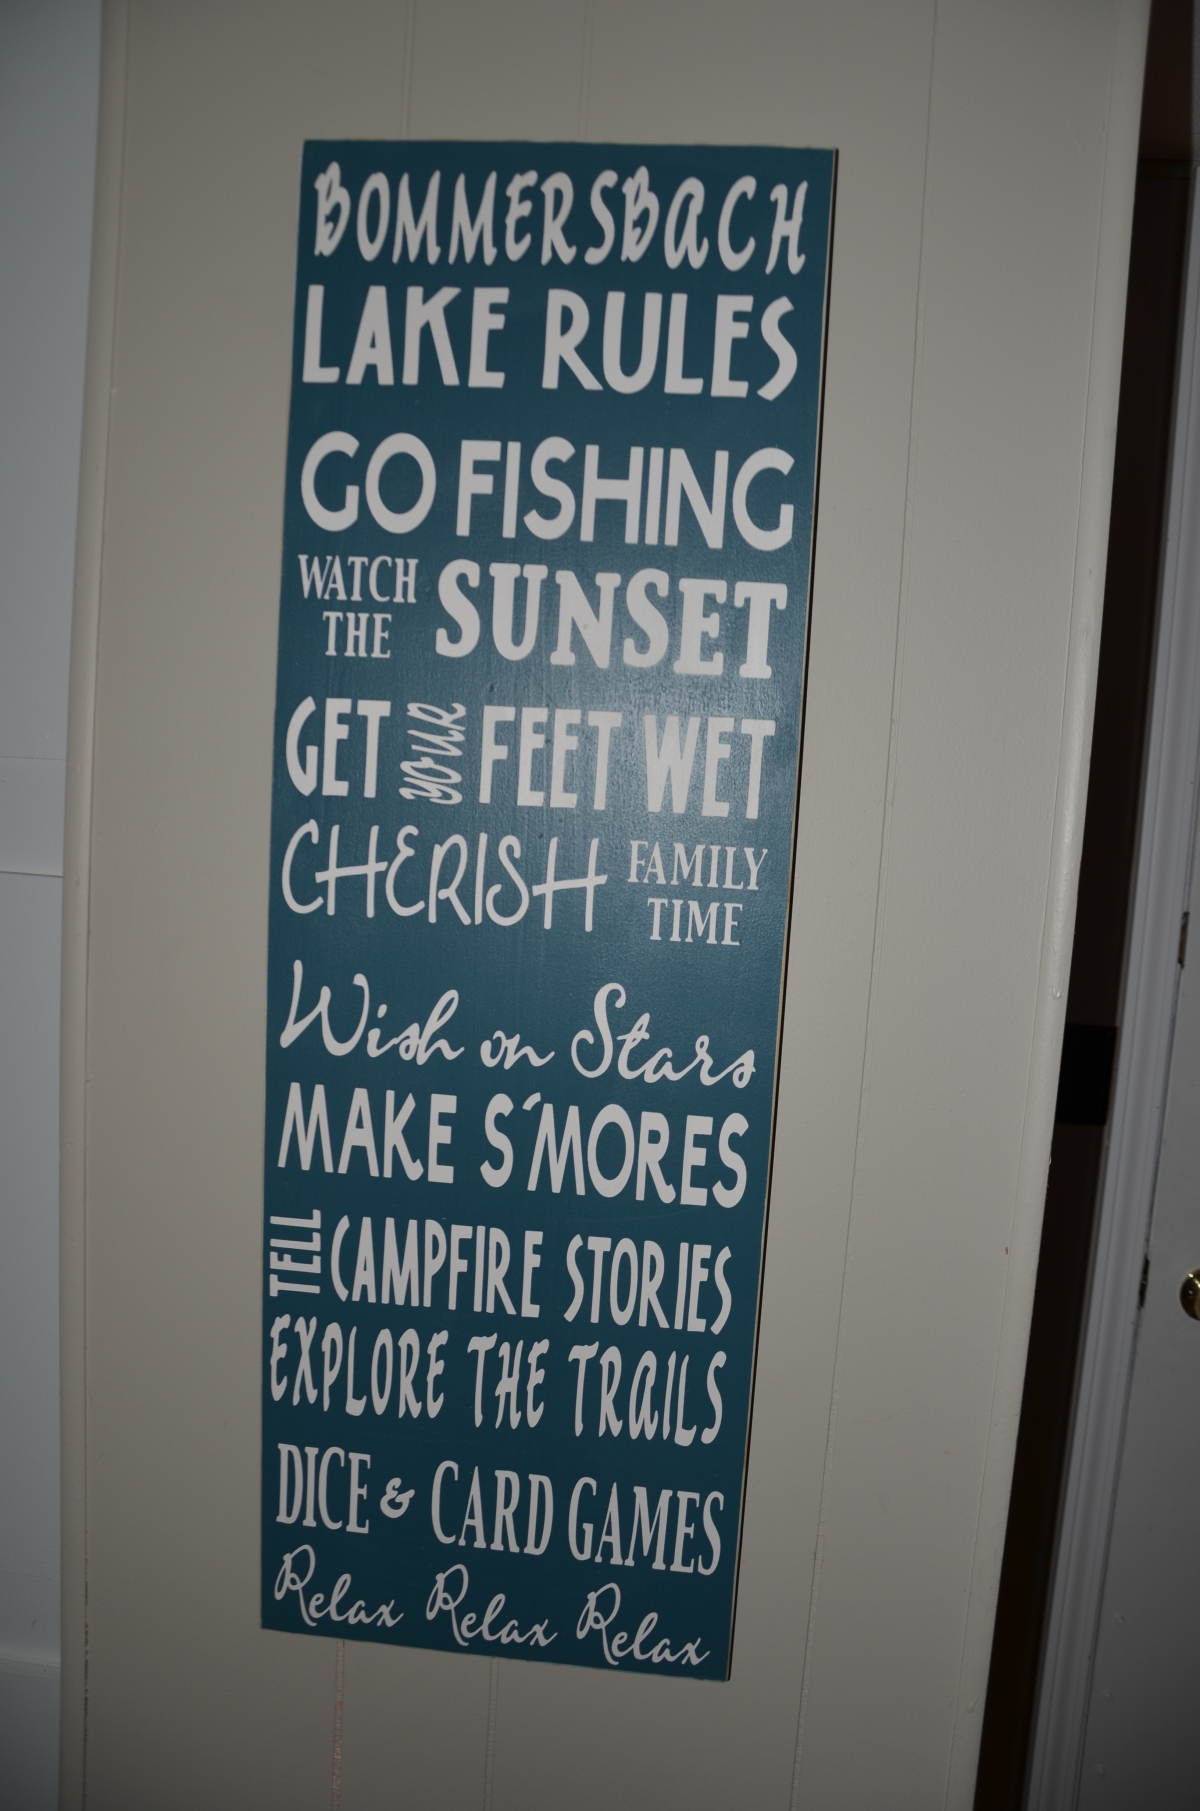
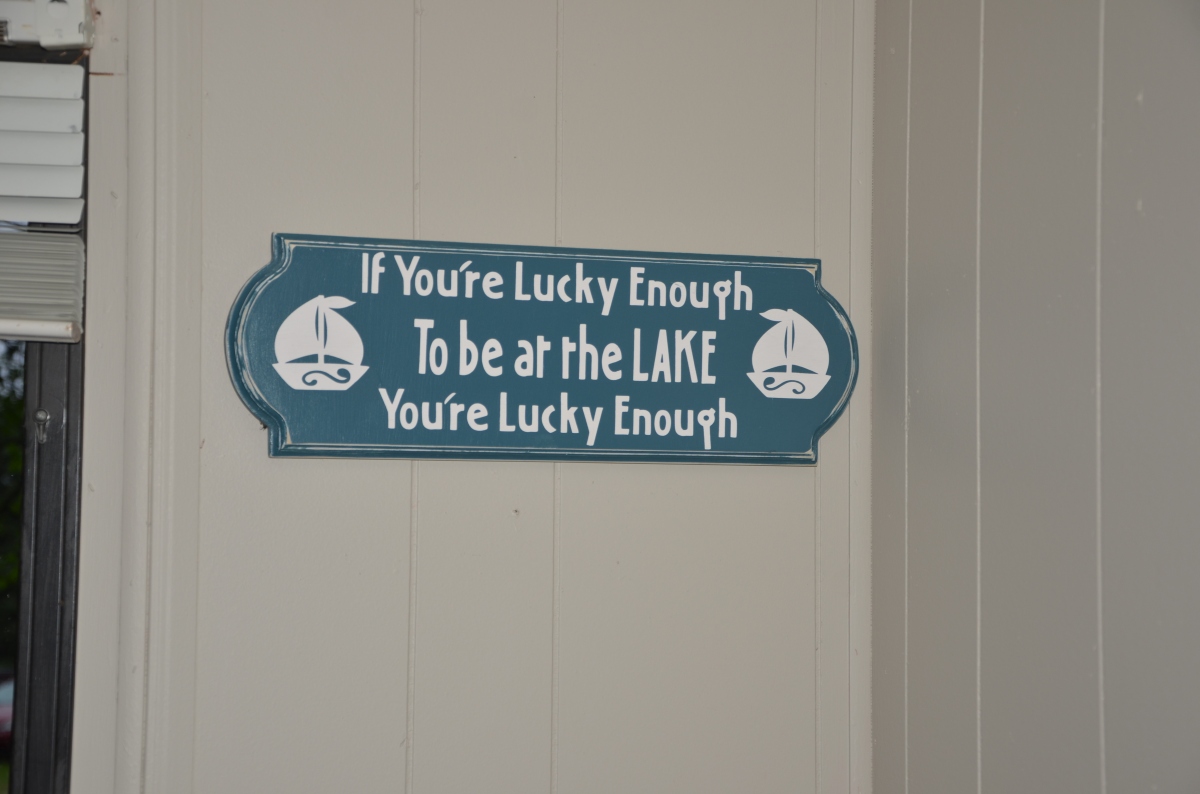
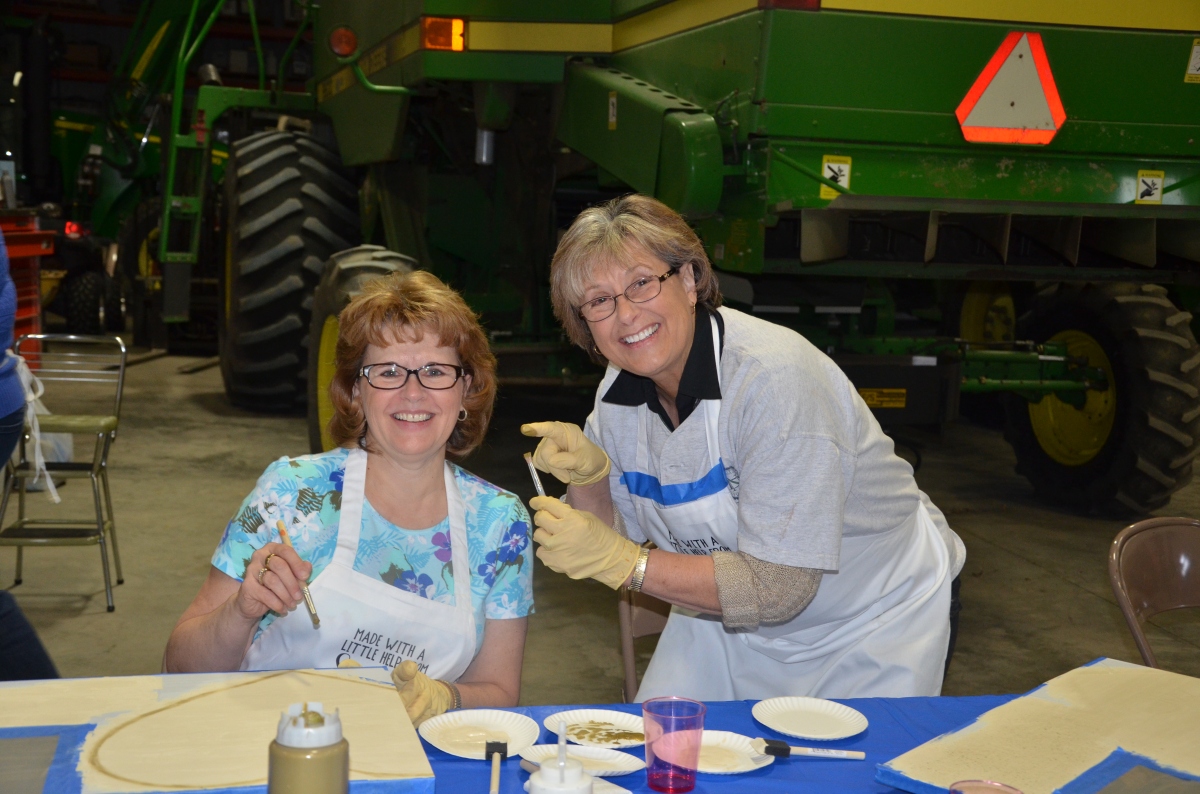
This is important. You need to do a test run with a group of trusted friends and/or customers to make sure your party flows correctly. I decided to have one at our lake place with the other ladies in our resort. They were all pretty loyal customers and friends, so I know I could rely on them for honest feedback. So I had them all over one afternoon for a free sign party. I made each person a personalized “welcome to our lake home” sign and had them all come over to paint it.
There were 6 guests, which was perfect for a first party. Everything went pretty smooth, but a few of the ladies put on way too much paint, so I figured out a way to avoid that at future parties by dispensing the paint a little at a time. Other than that, it was a success. Everyone was happy with their signs and they all hung them up in their homes immediately afterward.

My trial sign party – outside at the lake!

“Hard at work” at the lake
Finding Hostesses
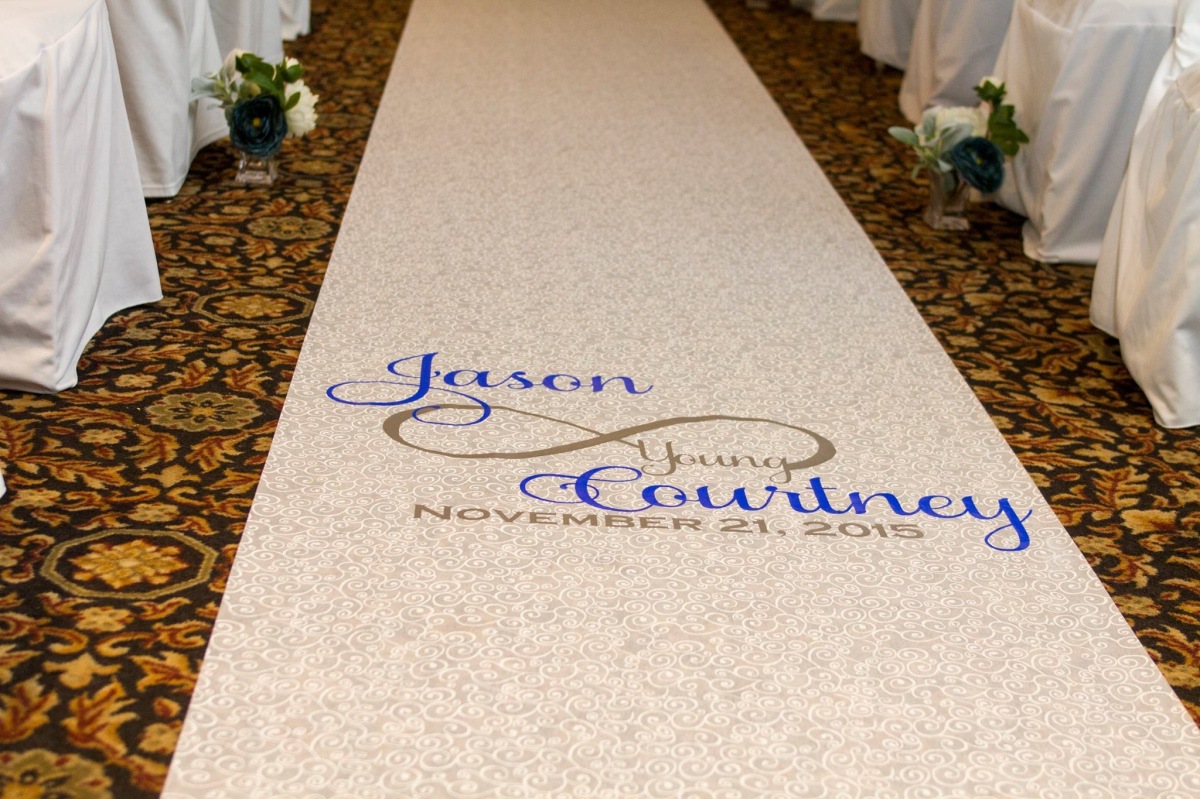
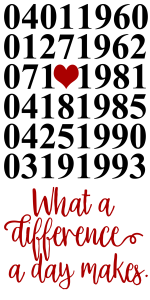
I had several people express interest in hosting a party, but I was having trouble getting them to “commit” on a date. So I decided to just get started and have a party at my house. I advertised this on Facebook through an event on my page and setup online registration. I chose to use my “anniversary heart” design. I promoted the party for a couple of weeks prior but only had two takers. But I had the party anyway.
For me it was a success, because both people were so happy with their signs, and one booked a party immediately, and the other comes to other parties I have at my home and is a great customer.
From there I started getting more bookings after each party – because I take a lot of fun pictures and post (with permission of course) after each party.
You can also ask a close friend or family member to host a party. You can offer some special discounts or whatever it takes to get the ball rolling. Once you have a couple, the bookings do start building on their own.
Hostess Coaching
I tell each hostess that they get their sign for free once they get 5 or more paid registrations to their party. Once I get 5 guests, I make a special one-time use coupon code for the hostess to get her sign for free. Then she can pick whatever sign she likes. I also give her $10 off at each of the parties her guests book off hers.
The hostess is responsible for securing a venue (some prefer a place other than their home) and providing refreshments and table covers. I also offer my home as a choice, because then I don’t have to lug my stuff off site. I live in the Midwest, so a lot of people have unfinished basements, or heated garages and shops. These are great places to have parties!!!
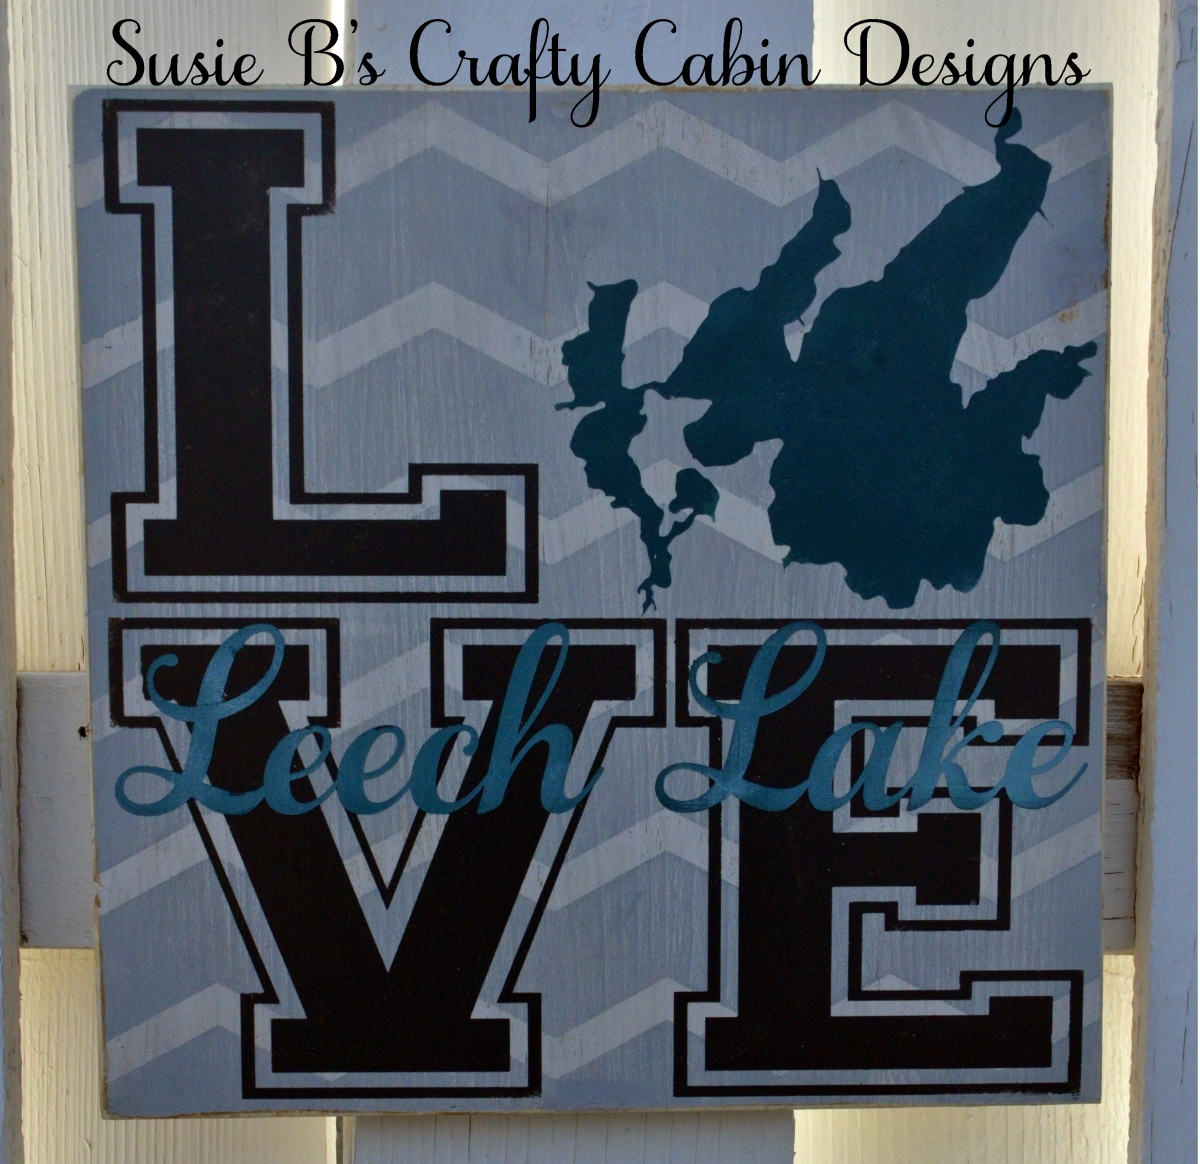
I have some set designs for the hostess to choose from. I usually have three different ones at varying price points, but all with a similar “theme.”
Then I set up everything on-line for her. I set up the registration and test it out to ensure it all works smoothly. I set up a private Facebook event and make her the co-host. I load it up with pictures of the designs and past parties. I put the link to the online registration on there and then she invites her friends to the event page, and they start registering. If someone is not on Facebook, she can email them the registration link.
I post daily updates as to how many slots are left, and we usually end up with the 15 total – or pretty close to a full party. If the party is on a Saturday, I try to have everyone registered by the Monday before, so I have time to prep everything.
The online registration is non-refundable, so if someone cannot make it, I paint their sign at the party for them and leave it with the hostess to deliver. This way, they still get their sign, even if they can’t make it.
Party Prep
As guests register, I either email, text, or PM them to confirm everything. Sometimes they pick the wrong sign or forget to give me some info. So I always confirm with them, just to be sure.
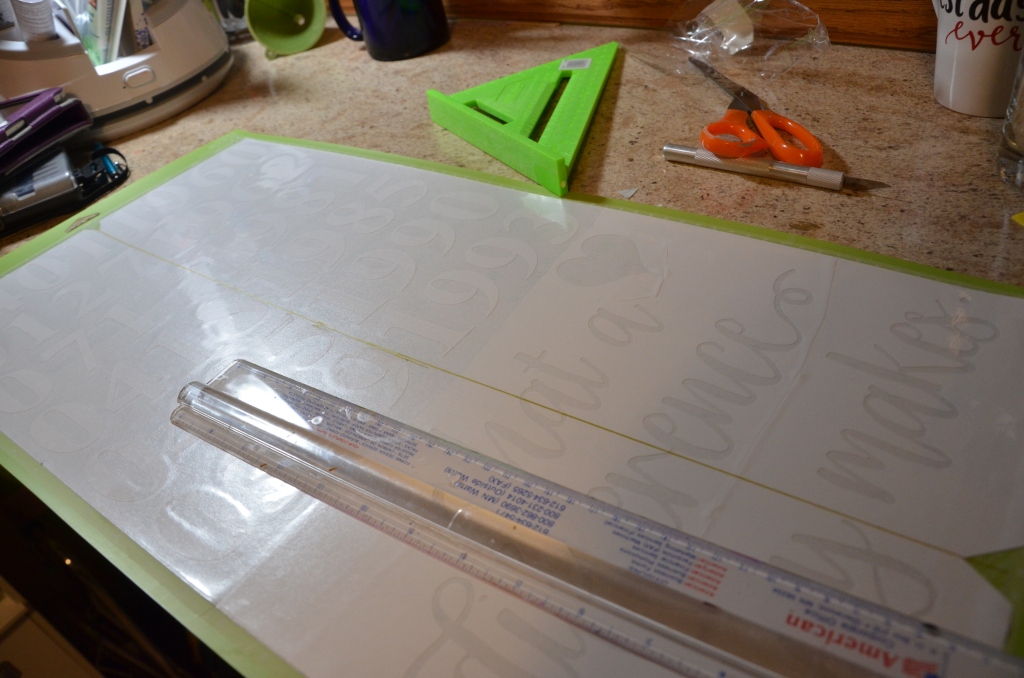
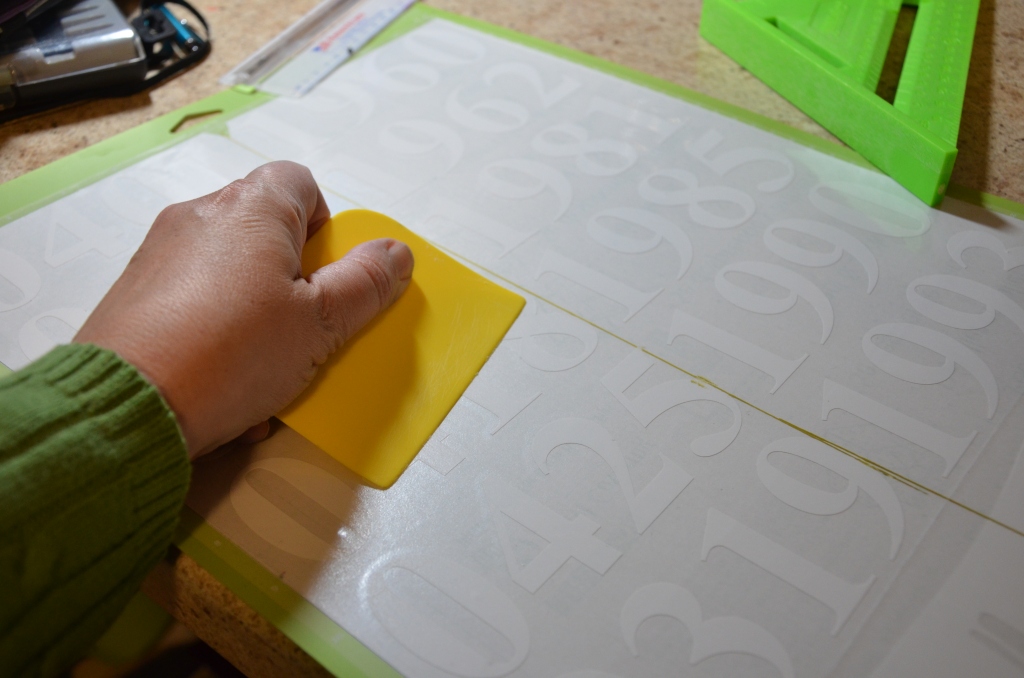
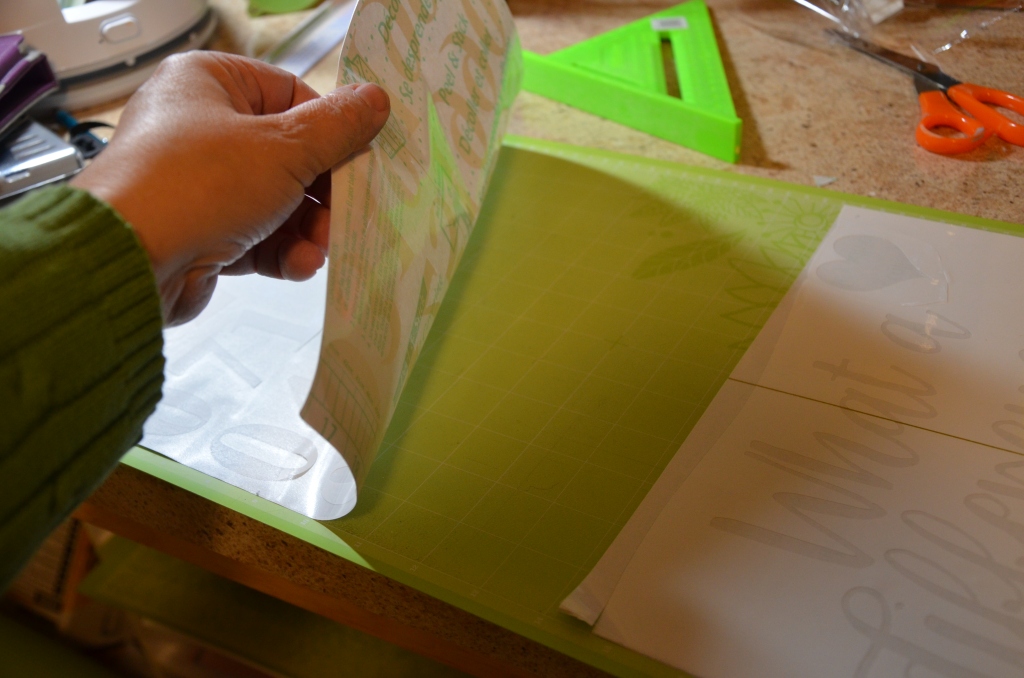
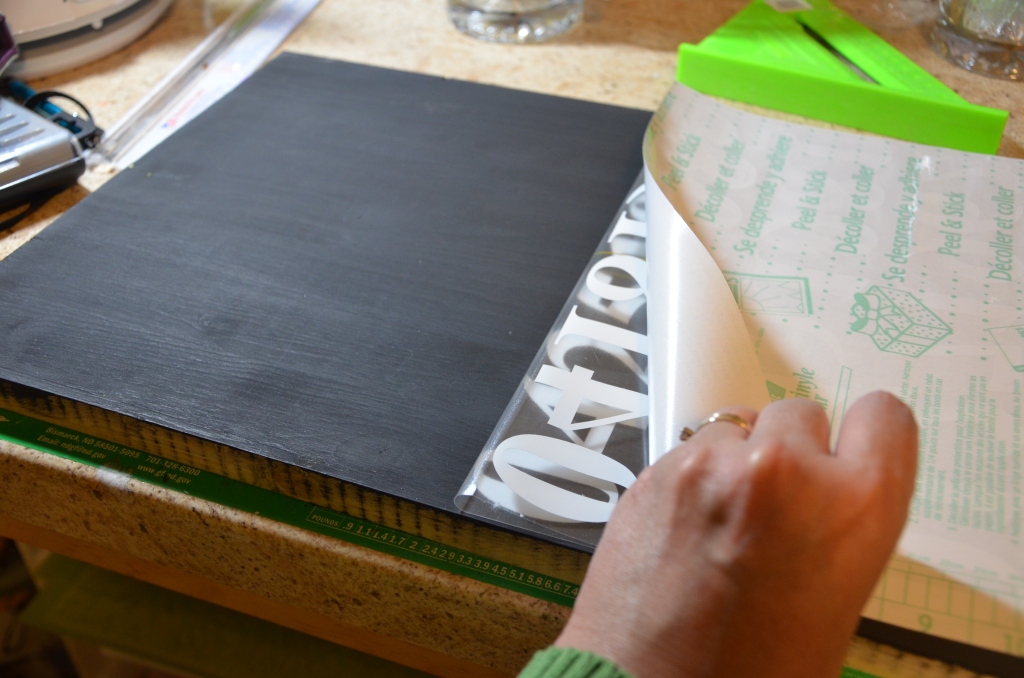
As the registrations come in, I get started personalizing the designs if need and getting the basecoat on the boards. I always do the base coat days ahead, because it needs to be completely dry. I also sand after the basecoat is dry and wipe of all the dust from the sign. A couple of days before the party I begin cutting out the stencils and apply them to the signs. I tape a copy of the customer’s order on the back of the sign.
Packing up
I have a bunch of different sized totes that I put all my supplies in. I have the aprons on a few hangers. I have a crossover, so I just fold all the back seats down. I load in by tables first and throw in the totes and strap the signs into my passenger seat.
Set up
I usually arrive about 45 minutes early. When I get there, I help the hostess with set-up. I then set out the plates, gloves, wipes, painters tape, mod podge , brushes and put the blocks under the signs. I do not put the paint out until it is time to use it.
Let’s get this party started!
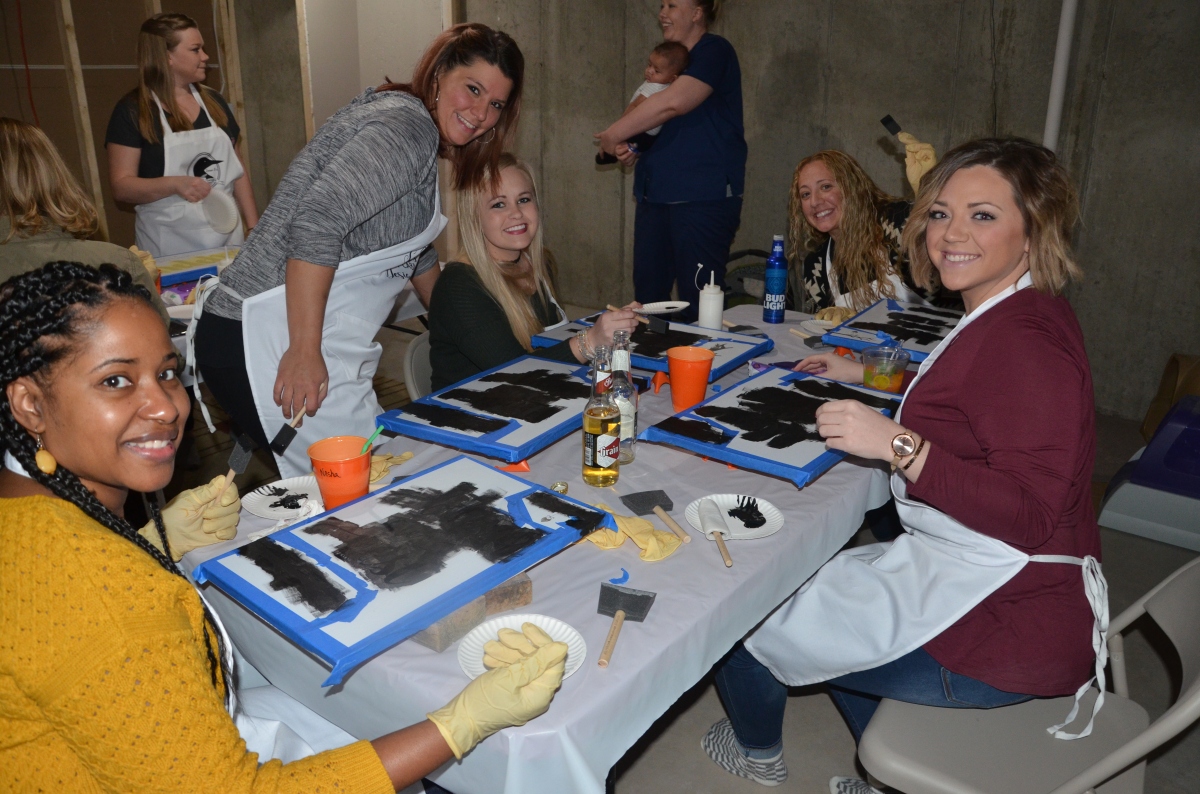
Once the guests arrive, gather everyone to the tables. I give each one an apron and help them find their signs. I start off with a brief intro and have everyone introduce themselves. I also explain that I will be taking pictures throughout the party. Some people might say they don’t like their picture taken, and I try to be respectful of that.
Tape it up and seal the stencil
The first think I have everyone do is take painter’s tape and tape off the edges and any exposed areas of the sign. Next I instruct everyone how to seal their stencil with Matte Mod Podge.
Then I have them wave one of their paper plates over sign to speed up the drying process. I draw have everyone write their name on a scrap piece of paper and we draw for the first door prize.
Paint that sign!
Next, it is time to paint I give each person about a quarter sized dollop of their paint one of their paper plates. I give them more as they need it. I instruct to apply the paint in thin coats – letting it dry between coats. When they are not using their brushes, I have them wrap a baby wipe around their brushes to prevent them from drying out.
I have them do one color at a time. Then they do the next color. While the paint is drying, we draw for another prize.
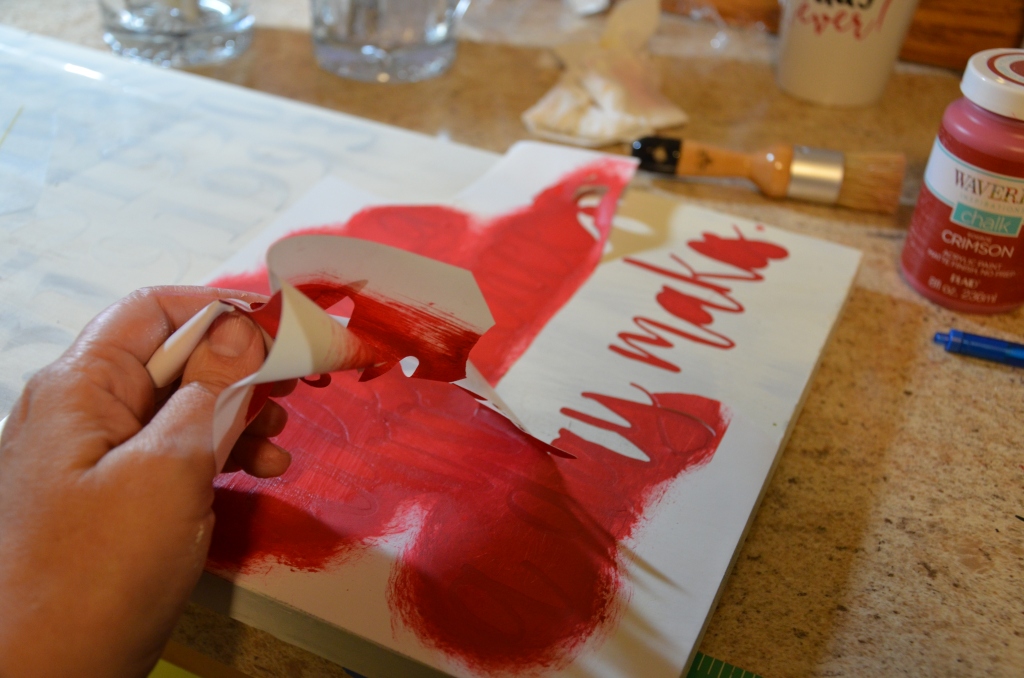
I have them wipe any excess wet paint globs wet paint off their stencil, so when they peel it off it does not splatter paint on their sign.
Peel the stencil
Then I show them how to peel up the stencil. Peel slow starting at one corner and peel diagonally and make sure no wood comes up when peeling. If it does, I help them with touch up. I give each one a weeding tool to pick out the centers of letters, etc.
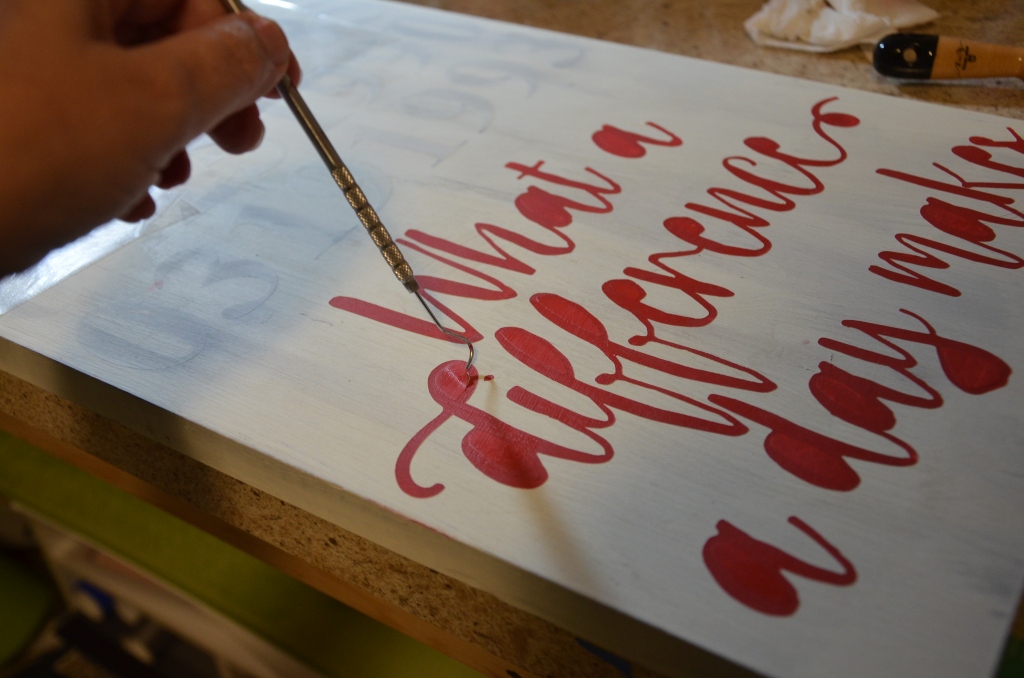
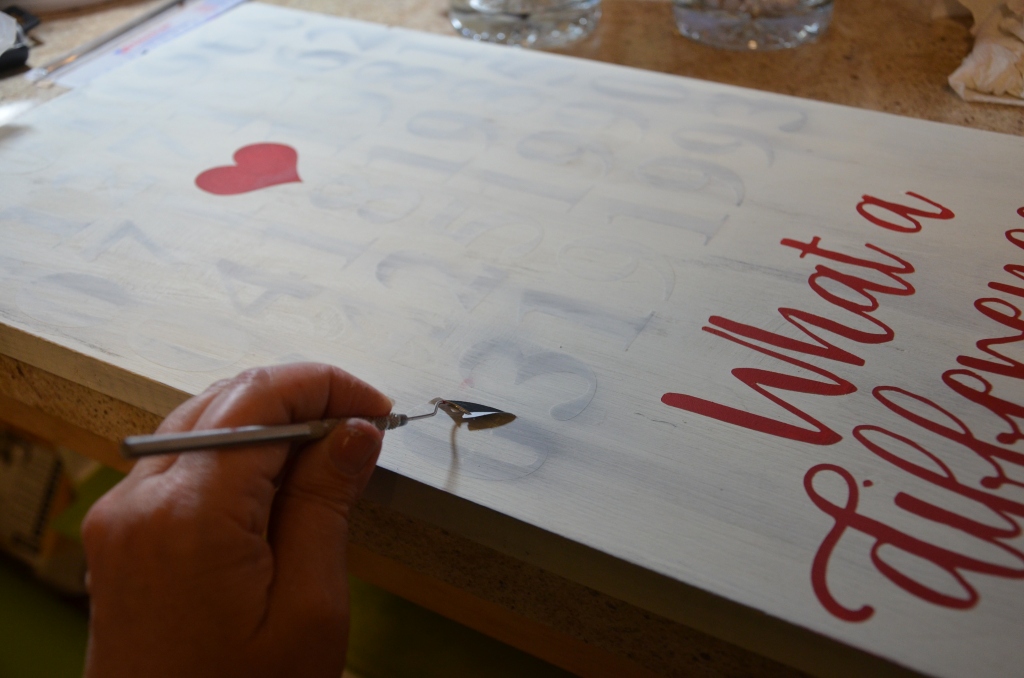
Touch up
Once their stencils are removed, I have them inspect to see if they need any touch ups. I give them small art brushes and show them how to fix the areas. We make sure everything is completely dried. One the sign is dry, I have them take a piece of Press N Seal and put it on the sign, sticky side down to pick up any dry paint flakes.
Seal the sign
Next, I instruct them how seal their sign with Matte Mod Podge. One coat on the front and all the sides should be sufficient. While that is drying we draw for the final prize.
Clean up
I also have them package up all their brushes in a baby wipe and a small piece of press n seal and I gather them all up in a big zip lock (I wash them out at home). I have them clean up their areas and throw away the paper plates, used painter’s tape and stencil pieces.
I also ask who wants a hanger for their sign and I give them one to take hope and put it on themselves once they get home.
Pictures are a MUST!!!
As the signs dry, I take individual pictures of anyone that wants one on their phone. When all the signs are dry, I gather everyone together for a group photo. I take a picture with my camera and offer to take pictures on their phones for them.
The photos are gold because they post their pictures in addition to mine and all of this generates interest and possibly more bookings.
Final interactions
I make it a point to personally thank each guest and give them a business card, and talk with any people who want to book future parties. I also take a minute to personally thank the hostess again and answer any questions she or the other guests may have.
Usually the guests tend to want to socialize a bit, so I then finish cleaning and packing up. Then I load up and go. People usually offer to help, and I graciously accept.
Once I am home, I post pictures to the Facebook Event and on my business page. I send an email to each attendee thanking them and I let them know about any parties I am hosting at my house that are open to anyone, and I let them know about any future craft fairs I am at. I also ask them to go out to my business page and leave a review.
I hope you find this information helpful. Good luck hosting your own parties!
Note – this post contains affiliated links where I may receive a small commission for promoting the products used. Rest assured, I would only recommend a product that I have already purchased and used myself.
Links & Resources
- Previous Blog Posts
- Business Training
- Supplies for Cricut Projects
- Follow Me
- Digital Files (SVGS, Fonts & More)
- Software to design your own SVGs
- Point of Sale